Product Administration
Product License
License is required to use Enov8 Platform. This license can be updated via “System Configuration” option in setting area on top right corner of the screen.
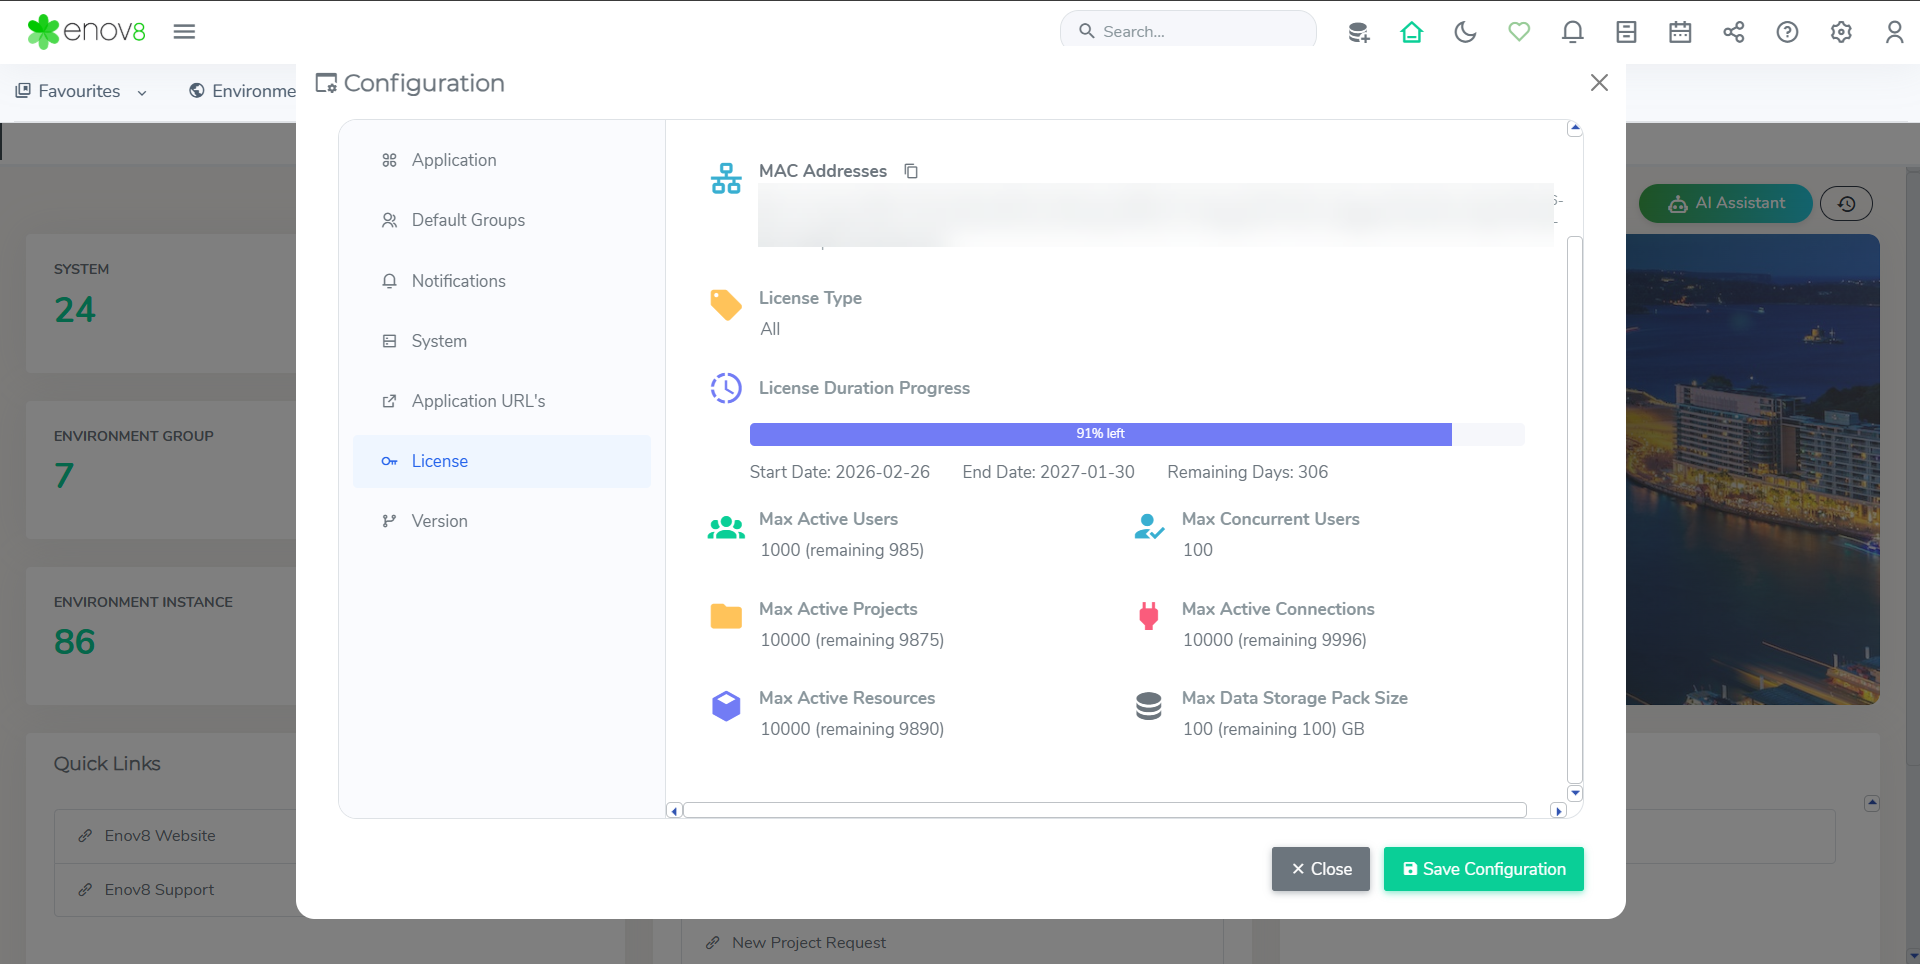
New license key needs to be pasted in the License Key field and then saved using "Save Configuration" button.
Email Notification
In ecosystem, users and groups can be defined as part of Access Management. As part of out of box capabilities, users can be added as part of access management and these users can be grouped together by creating “Groups”.
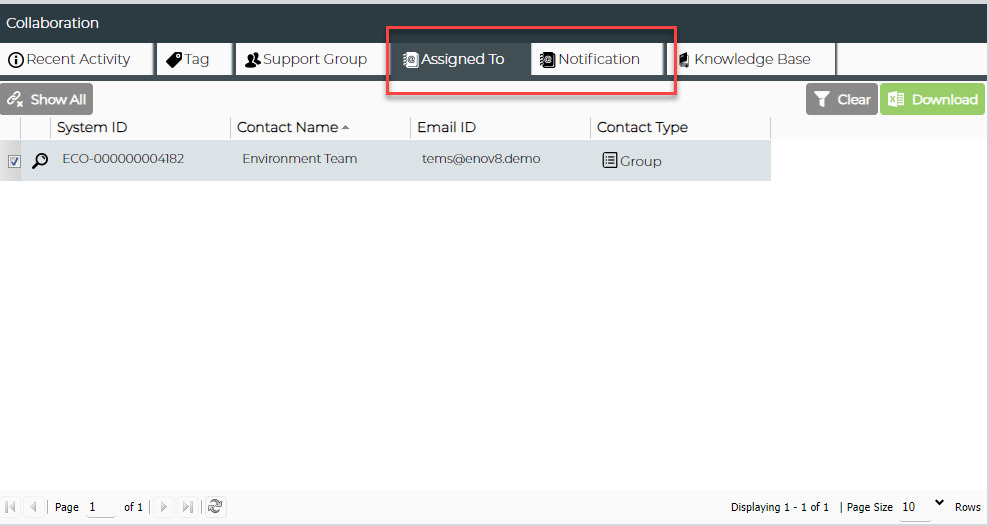
All objects in ecosystem have “Assigned To” & “Notification” properties. Users & Groups can be attached to these properties which define the scope of these objects.
- Assigned To property defines the users and groups which will have edit rights on the object they are attached to along with their role definitions. All the users including the users in the group who are attached to Assigned To property will receive email as part of any creation or update of the object they are attached to.
- Notification property defines the users and group of users which needs to be notified whenever there is any update to the object they are attached. Please note that the users attached as part of notification property doesn’t have any edit access to the object.
- System User / Creator user who created the object will also receive email notification on any update to the object.
Configuration
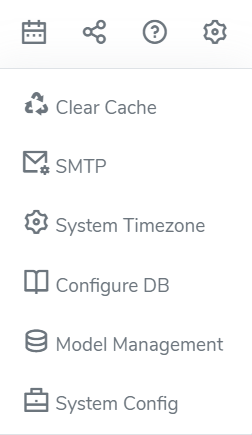
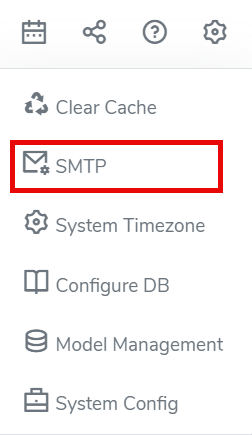
In order to configure and enable emails in ecosystem, SMTP details needs to be configured. “SMTP” module can be assessed by clicking on the setting icon on top right corner of the application.
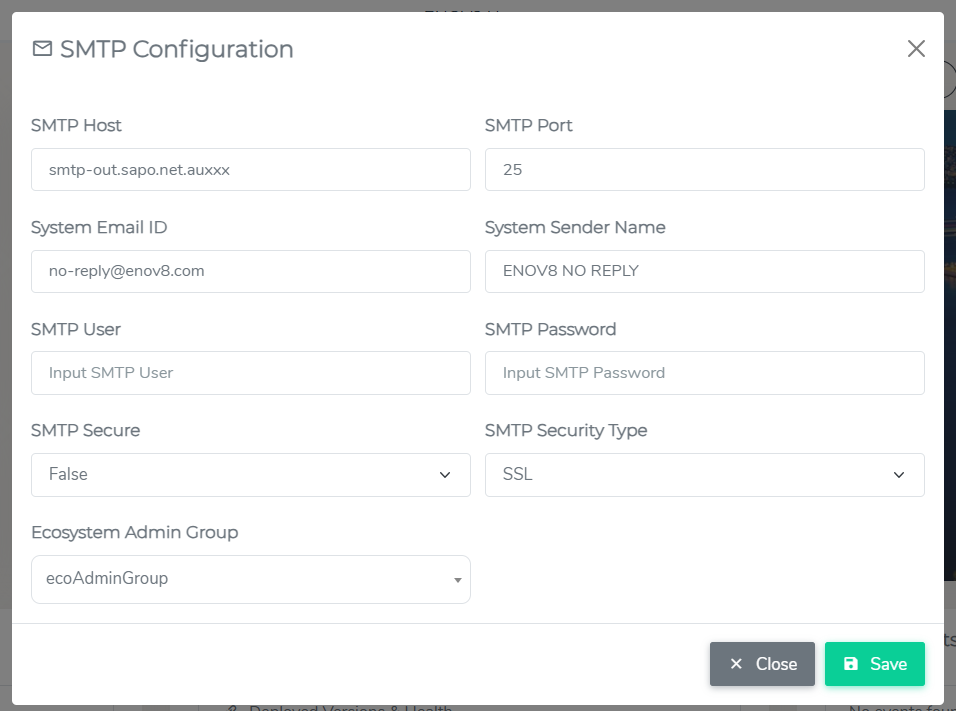
● SMTP Host- SMTP Server Details
● SMTP PORT - Port
● System Email ID – Email Address to be used for “From” field.
● System Sender Name – Name that will be displayed in email.
● SMTP User – User required to authenticate (Required only if SMTP is secure)
● SMTP Password – Password required to authenticate (Required only if SMTP is secure)
● SMTP Secure – True/False
● SMTP Security Type – SSL/TSL
Once the email server details have been setup, the next steps are to configure the Classes for which emails should be generated.
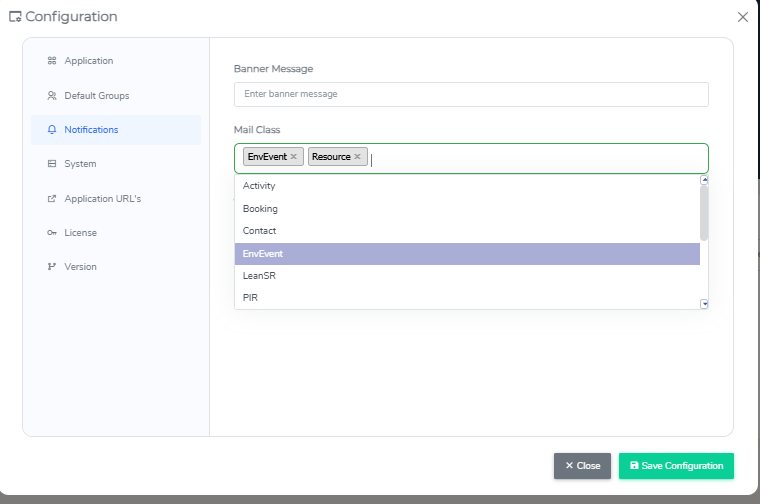
Select the classes in the “Notifications > Mail Class” section for which email needs to be enabled.
Subscription
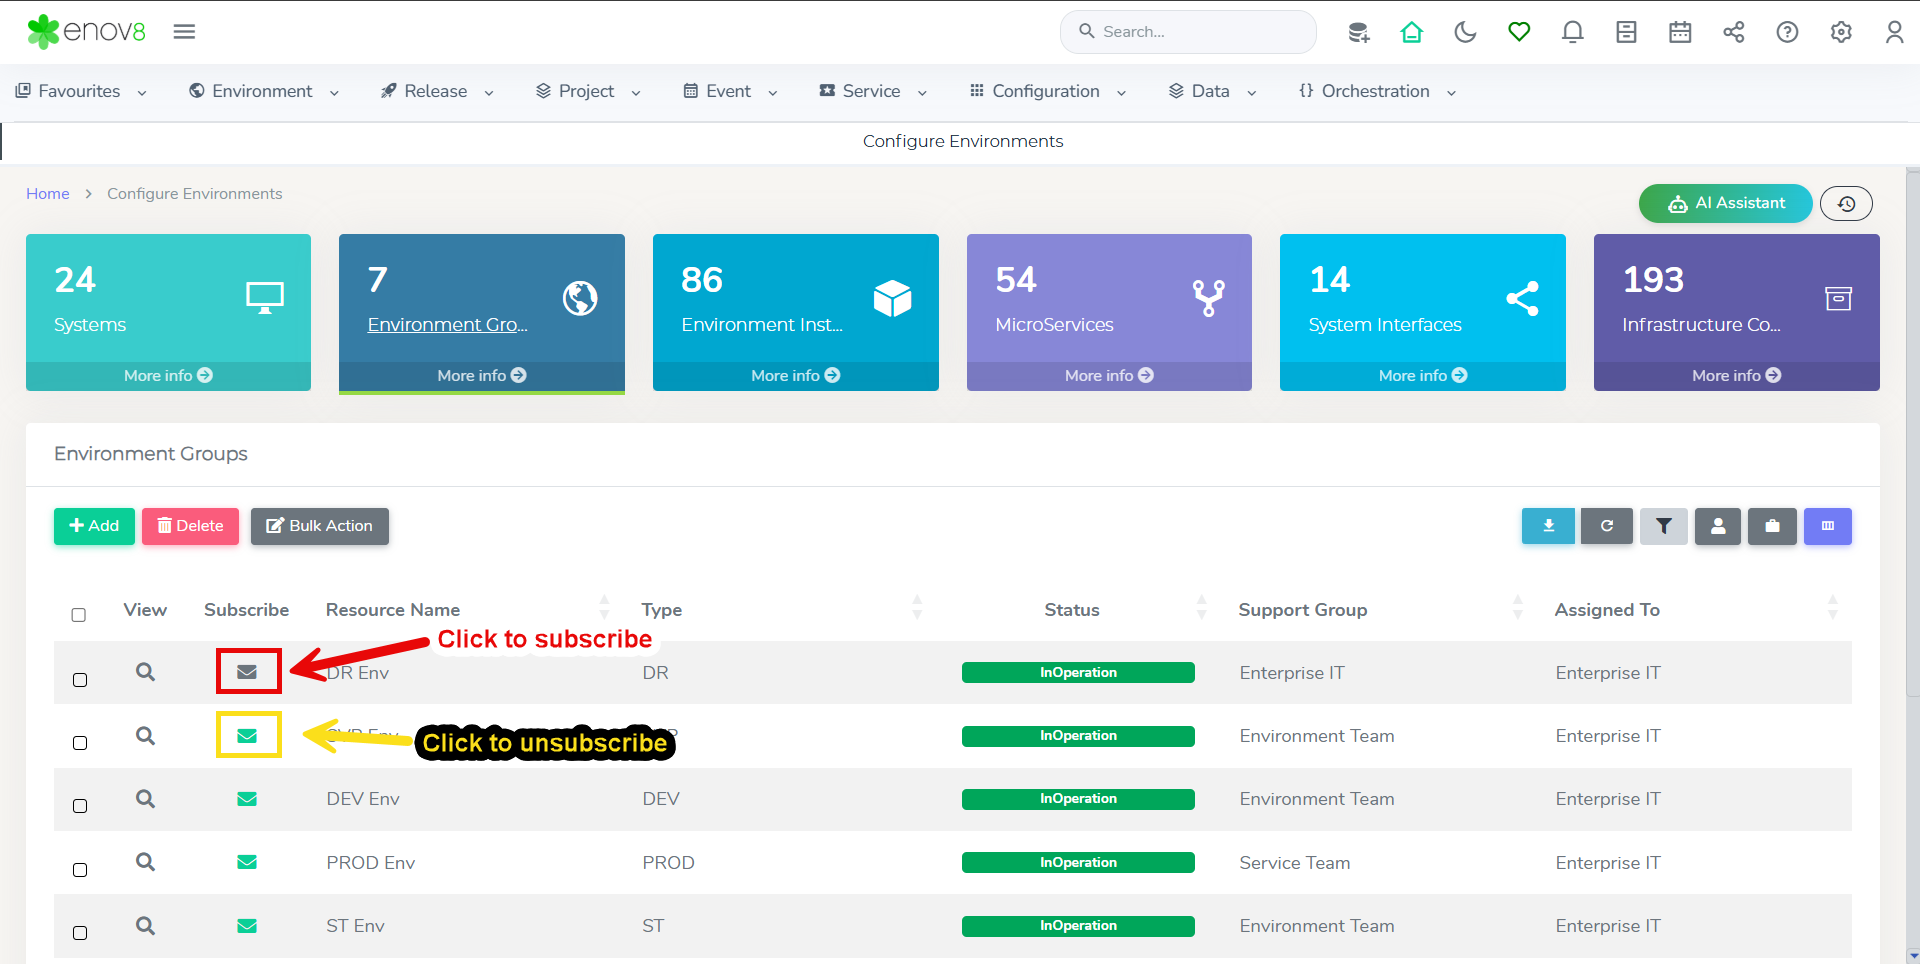
In the ecosystem, users automatically receive email notifications if they are connected to an object or part of a group connected to the object. Users not connected can subscribe by clicking the gray email icon in the listing, which turns green upon successful subscription. Green icons indicate subscribed objects. To unsubscribe, users can click the green email icon.
Email Unsubscribe In ecosystem, users have the capability to unsubscribe from the email notifications. This unsubscription capability can be used at 2 levels:
-
Individual Object Level
Users can unsubscribe/opt out of receiving emails for a particular object. To unsubscribe from a specific object, simply click on the unsubscribe button in the email footer. -
Class Level
Users can also unsubscribe/opt out of receiving emails for a particular class. For example, a user can opt out of receiving emails for Bookings. To unsubscribe, they can either click on the link in the email received or go to the Unsubscribe section in the ecosystem in their login profile section.
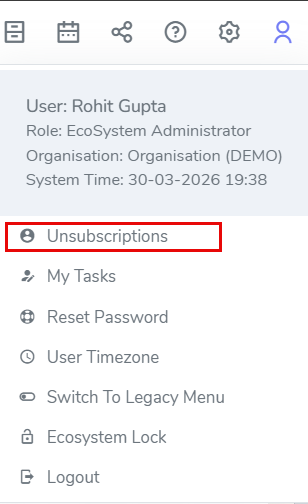
Users can also manage their subscriptions via “Unsubscriptions” option under their profile menu.
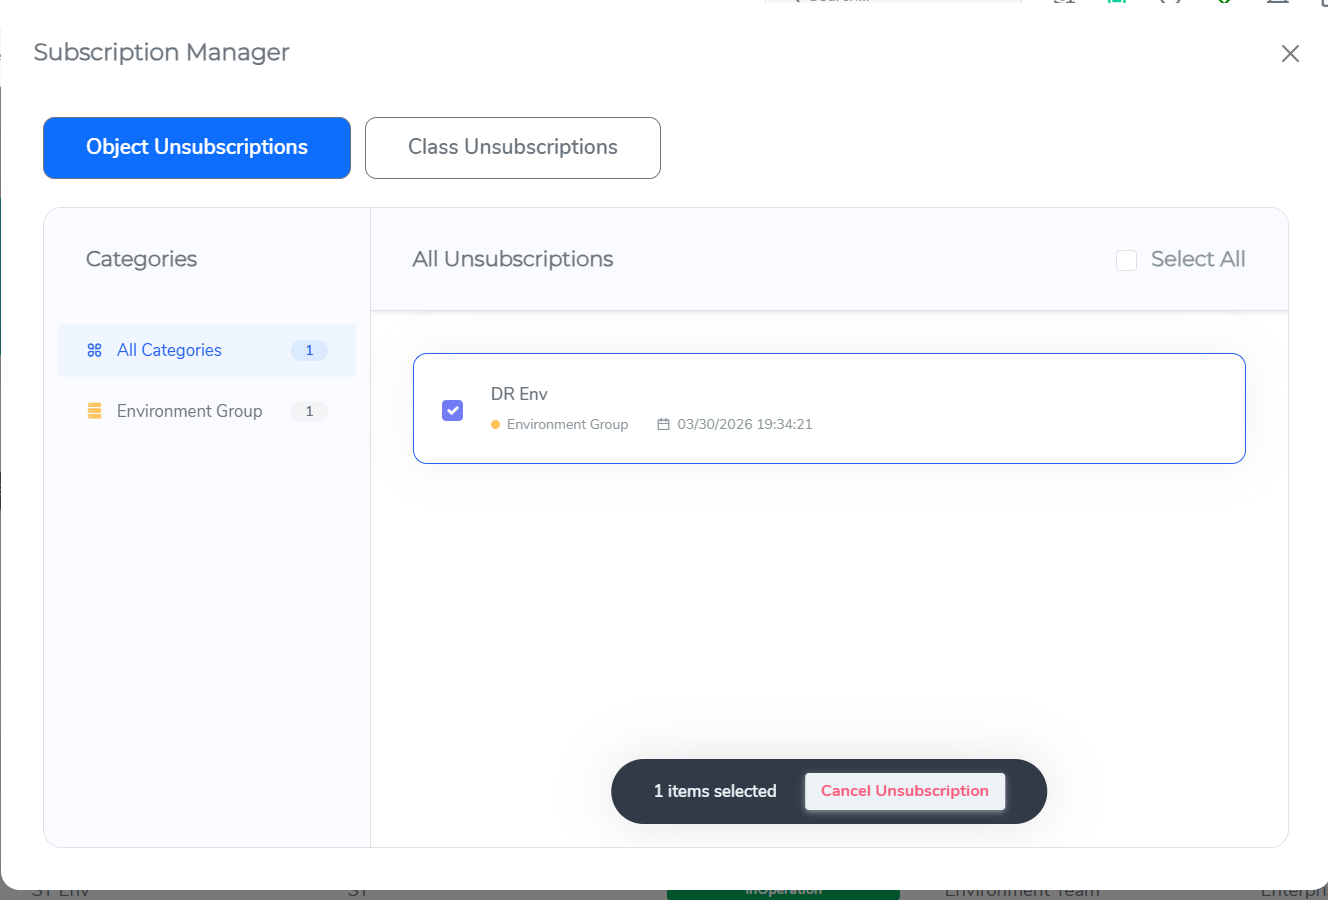
In this module, user can use the "Subscription Manager" to see the list of objects they have unsubscribed from and can cancel them to subscribe back.
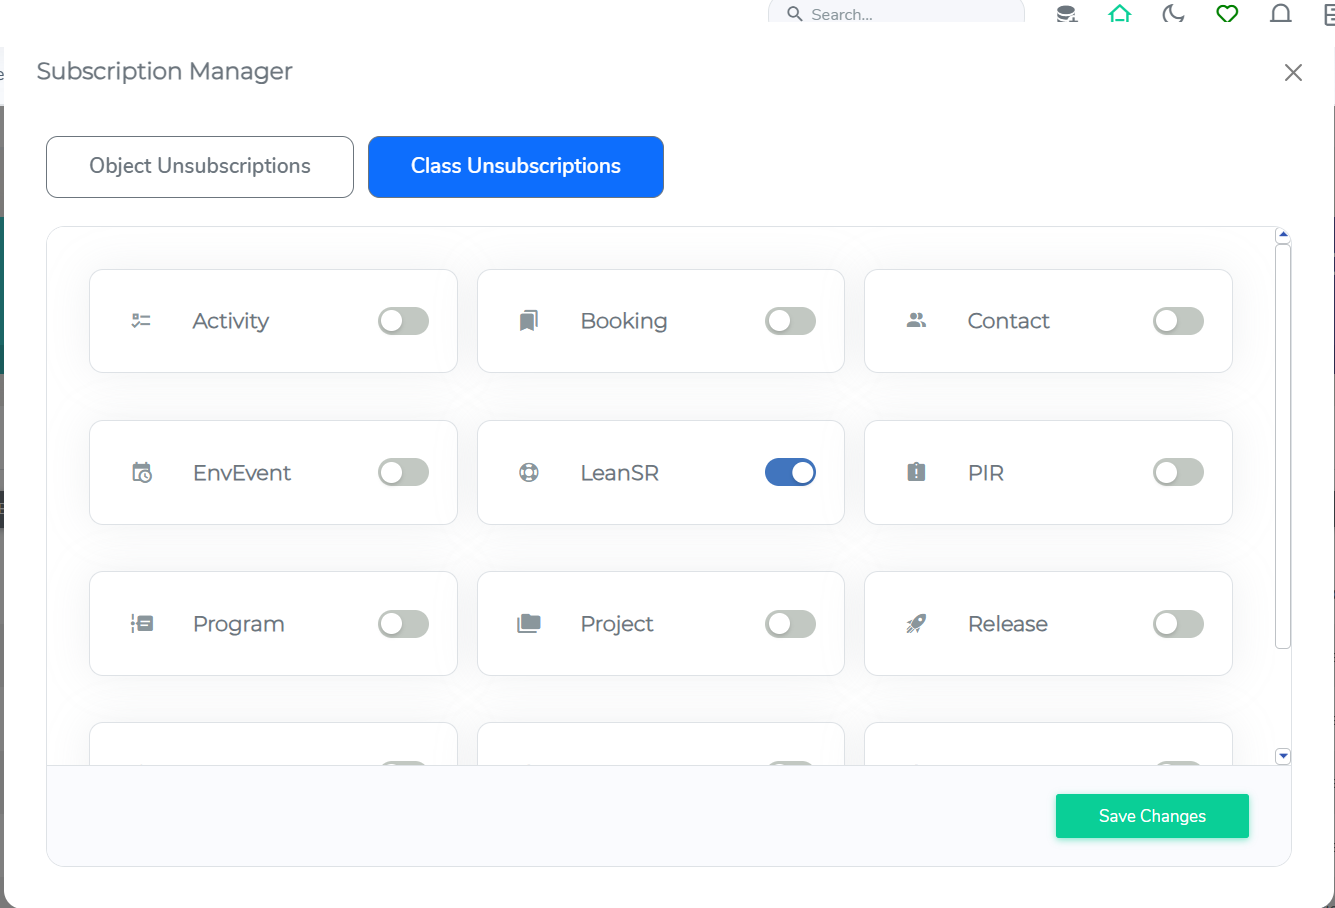
“Class Unsubscriptions” option can be used to subscribe/unsubscribe from class email notifications.
Backup and Restore
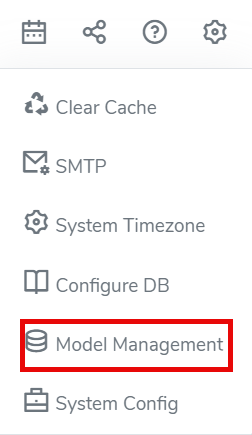
Ecosystem Product data can be manually backed up and restored by administrator via Model Management.
Backup
In order to take a backup of the existing data, please access the “Backup Model” section of Model Management menu.
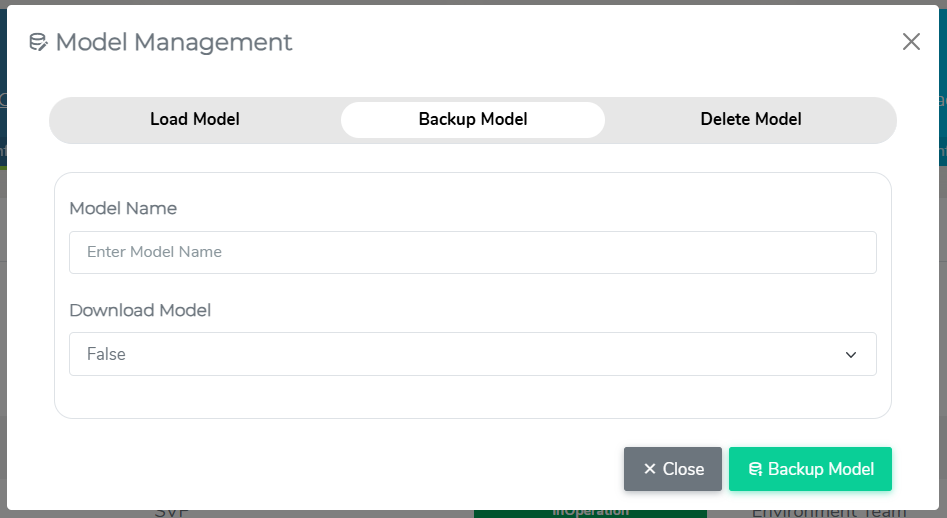
Provide the backup file name which you would like to create for this backup.
Restore
In order to take a restore from the existing backup files, please access the “Load Model” module section of Model Management menu.
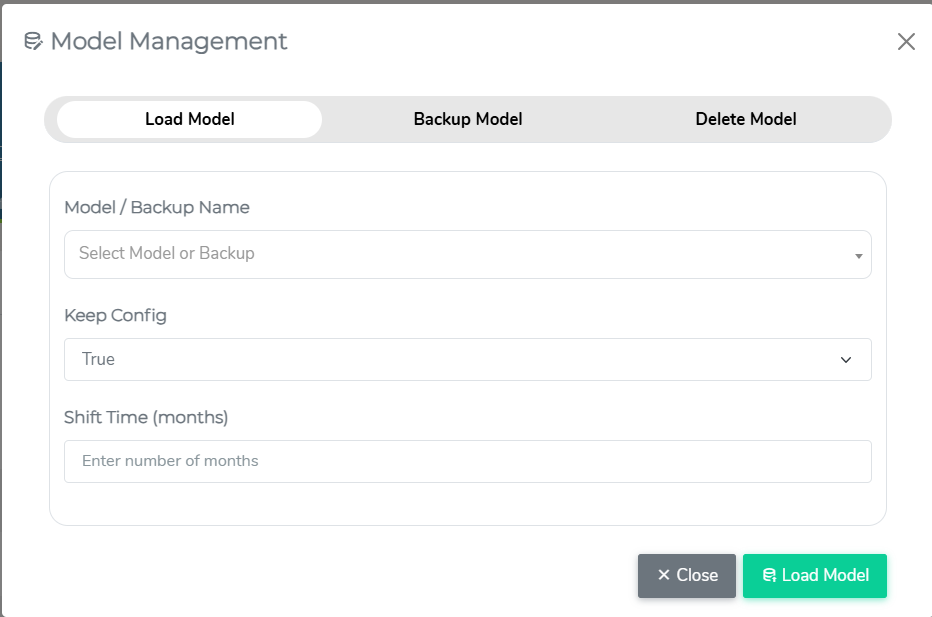
Select the filename which needs to be restored from the dropdown and click “Load Model”.
When restoring data using the Load Model option, you will see a parameter called Keep Config.
Keep Config = True
Selecting this option preserves the current server’s configuration during the restore. Environment-specific settings—such as domain name, base URLs, DNS Name, and other system-level parameters—remain unchanged. Use this when you want to restore the model but retain the destination environment’s existing configuration.
Keep Config = False
This option replaces the current server configuration with the configuration stored in the backup model. All settings from the backup, including domain name, base URLs, and DNS Name, will overwrite those on the destination server. Use this when you want the destination environment to fully adopt the configuration from the source environment contained in the backup.
| Configuration Items in Scope |
|---|
| DNS Name |
| VO URL |
| VO API URL |
| DCS API URL |
System Timezone
Ecosystem product server timezone for date and time can be configured via “System Timezone” module which can be accessed via Setting icon on top right-side bar of the screen.

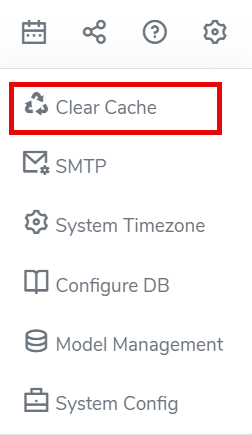
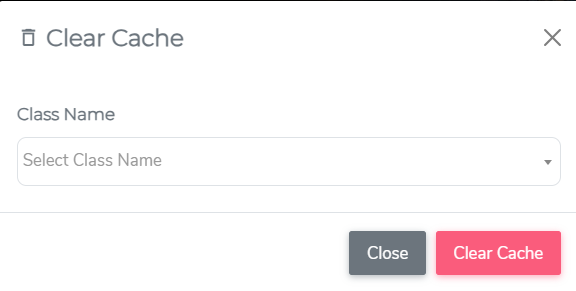
Product Caching
Ecosystem product has caching capability which is used to cache data for different reports. This cache can be deleted in case of any issues. All the cache is stored in ecosystem based on each class.To delete a cache, select the class for it the cache needs to be deleted and press “Delete Cache”.