VMWare Install & Getting Started Guide
Steps to Deploy vME on VMware ESXi.
1. Log In to ESXi Web Interface
- Open your web browser.
- Enter the IP address or hostname of your ESXi host.
- Log in with your administrator credentials.
2. Navigate to Virtual Machines
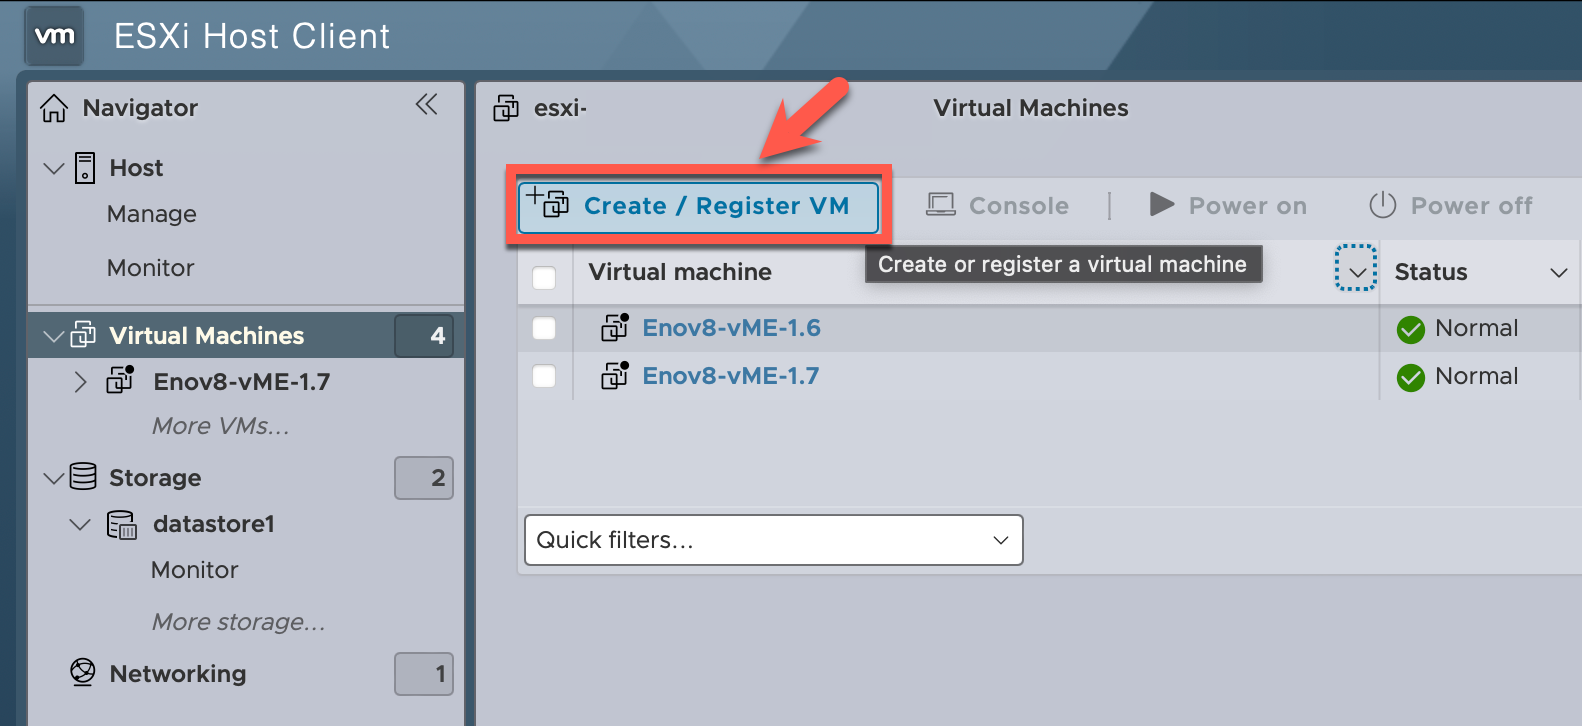
- From the left-hand menu, click on "Virtual Machines."
- Click on the "Create / Register VM" button.
3. New Virtual Machine Wizard
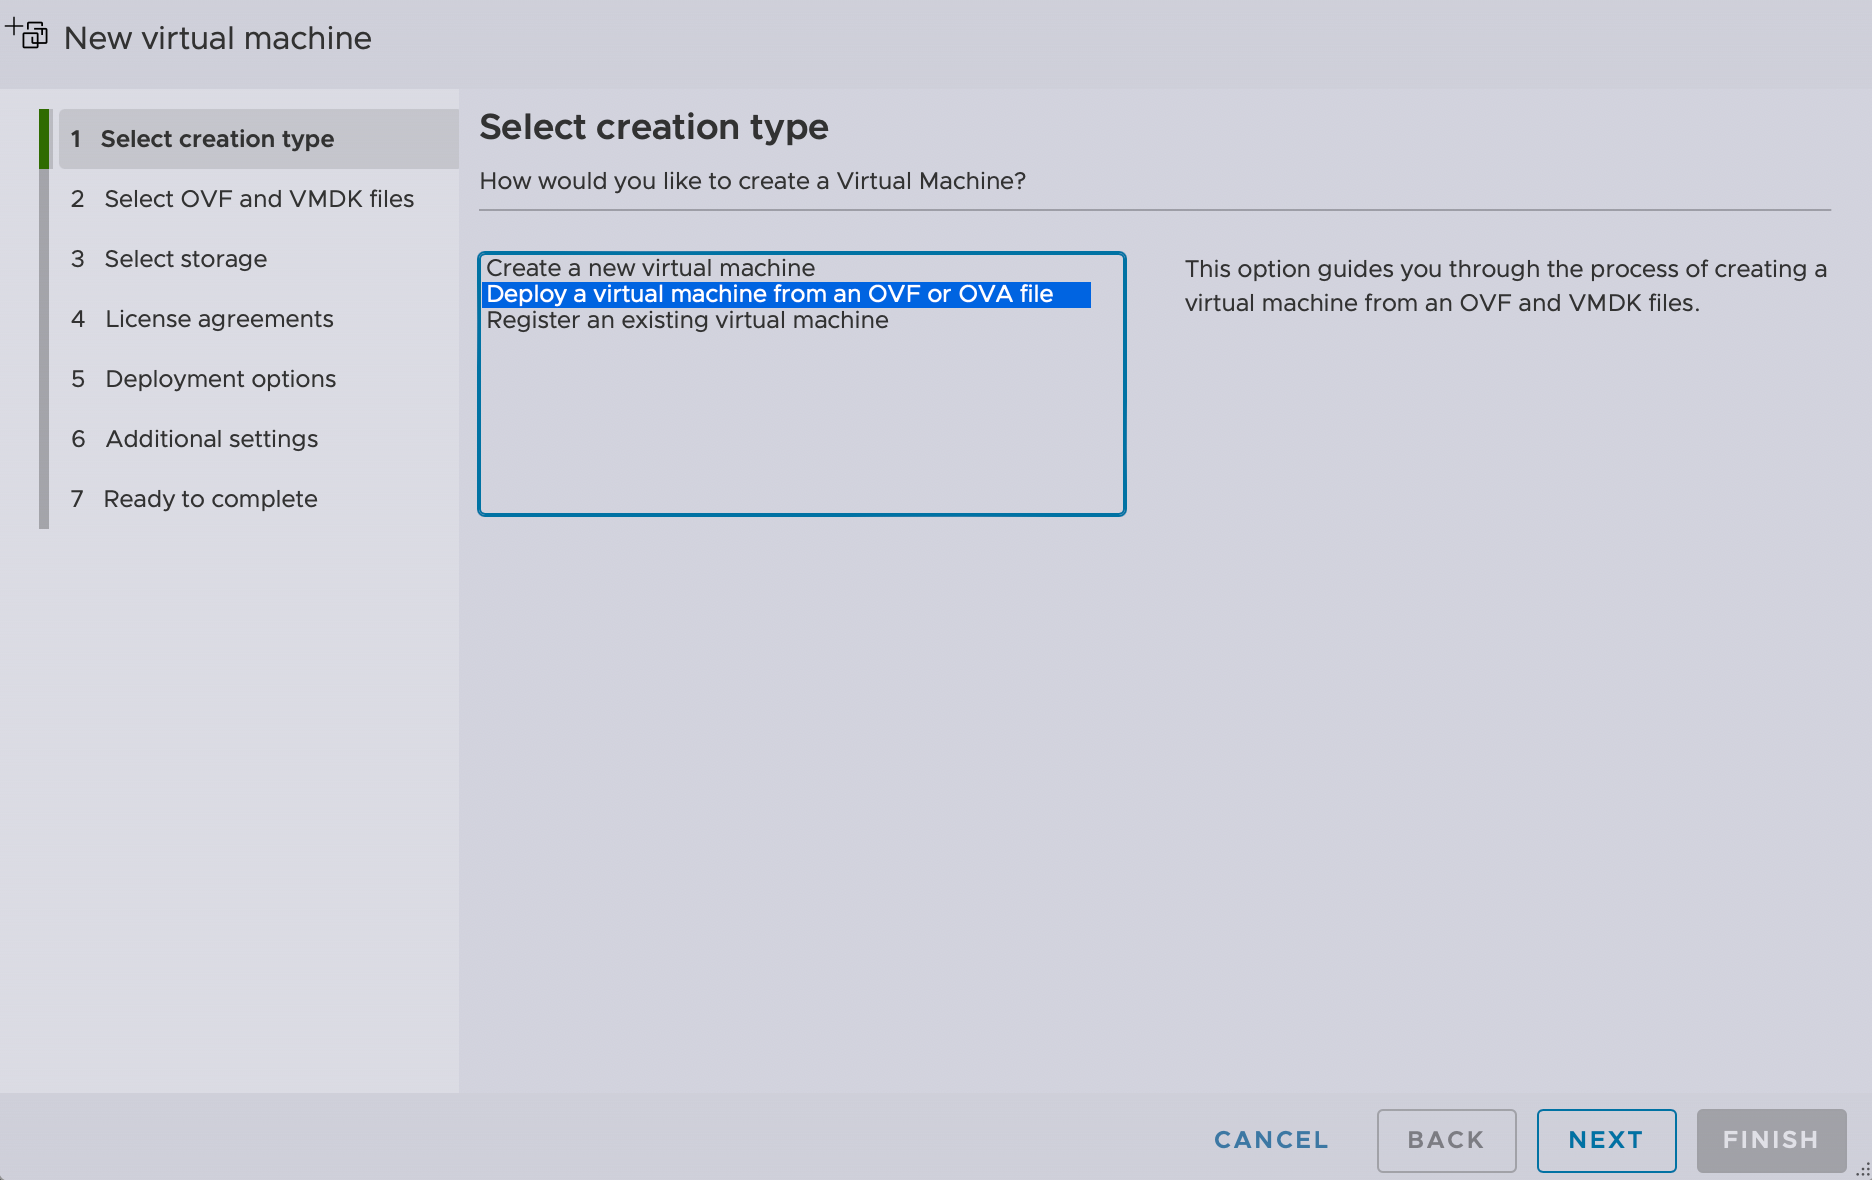
3.1 Select Creation Type
- Select "Deploy a virtual machine from an OVF or OVA file" and click "Next."
3.2 Select Files
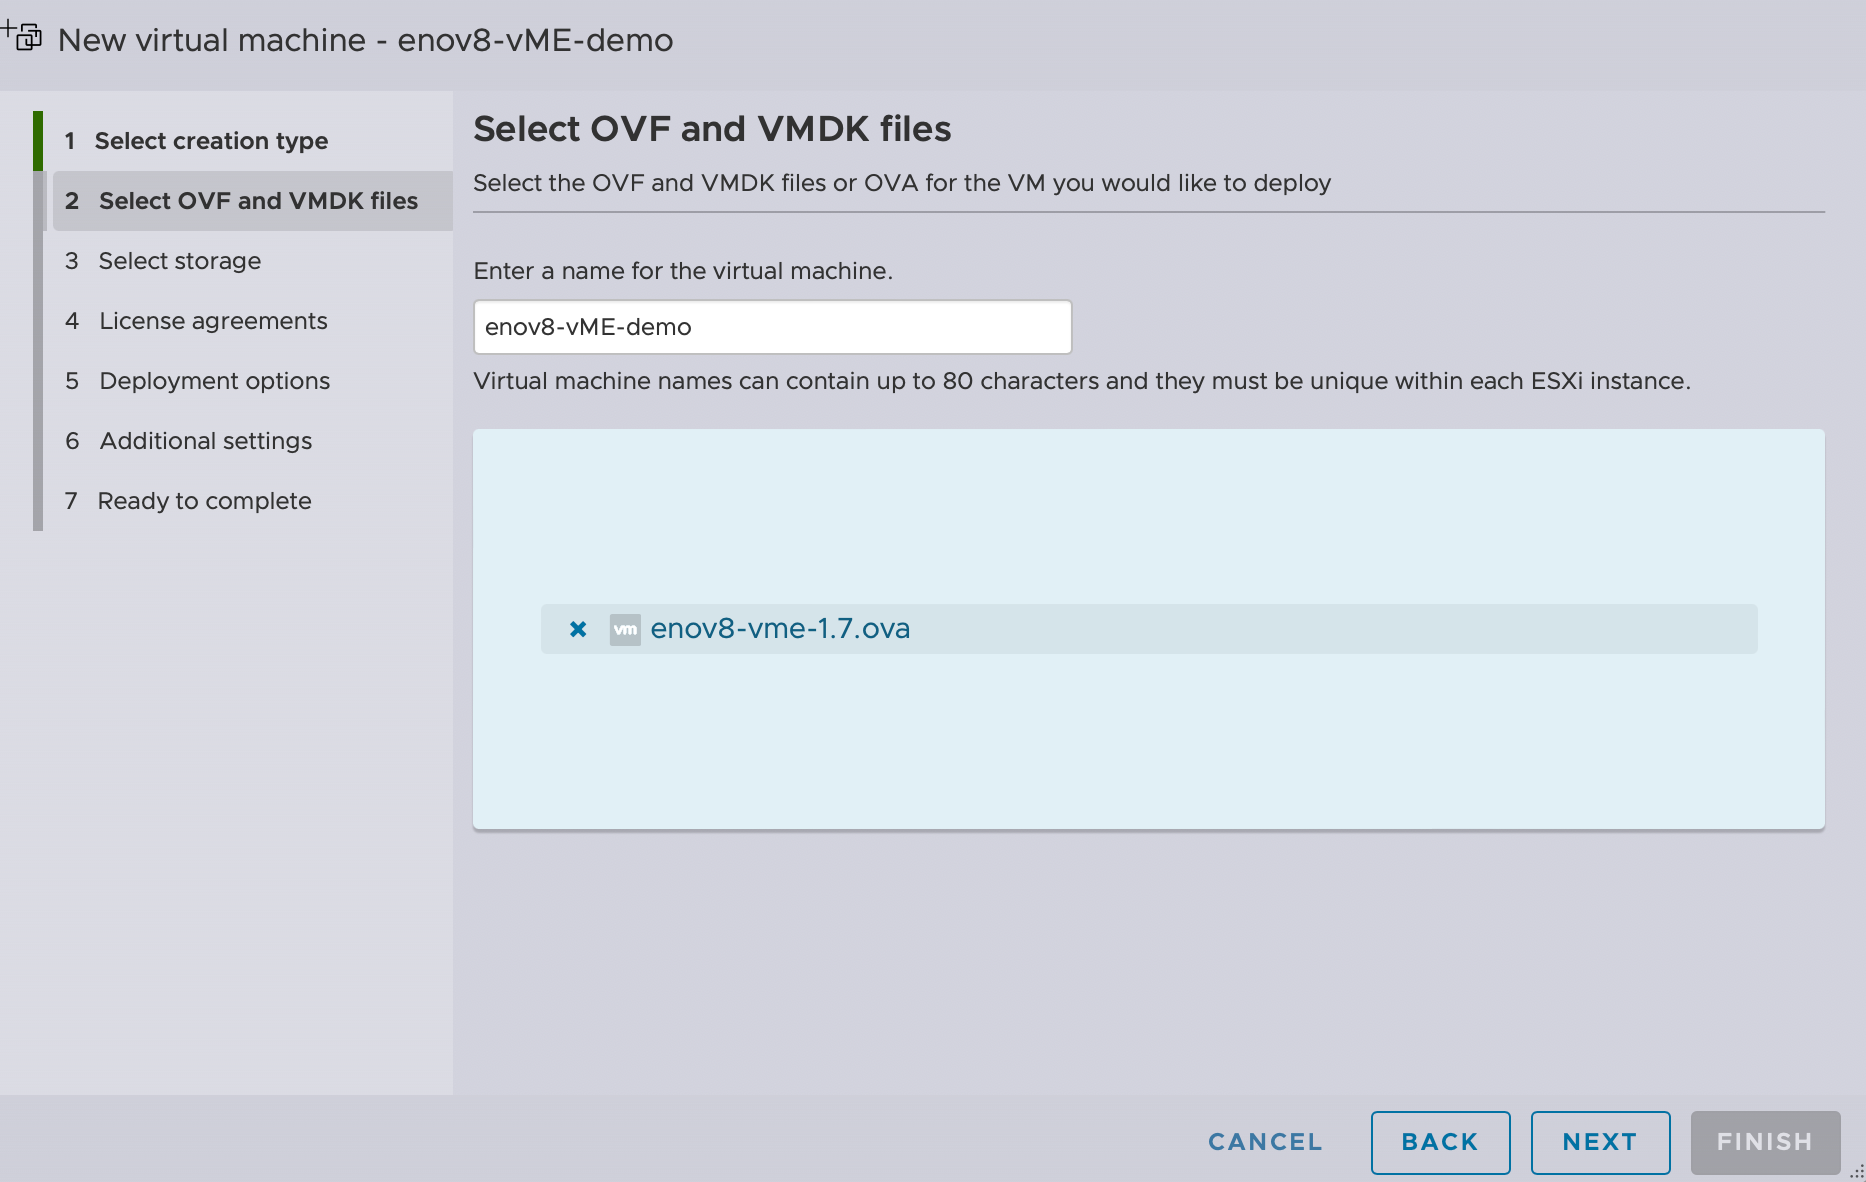
- Name the new VM.
- Click "Click to select files or drag/drop" to browse for the OVA file on your local machine.
- Select the vME Appliance .OVA file and click Next.
Contact your enov8 representive for the latest vME release .OVA file.
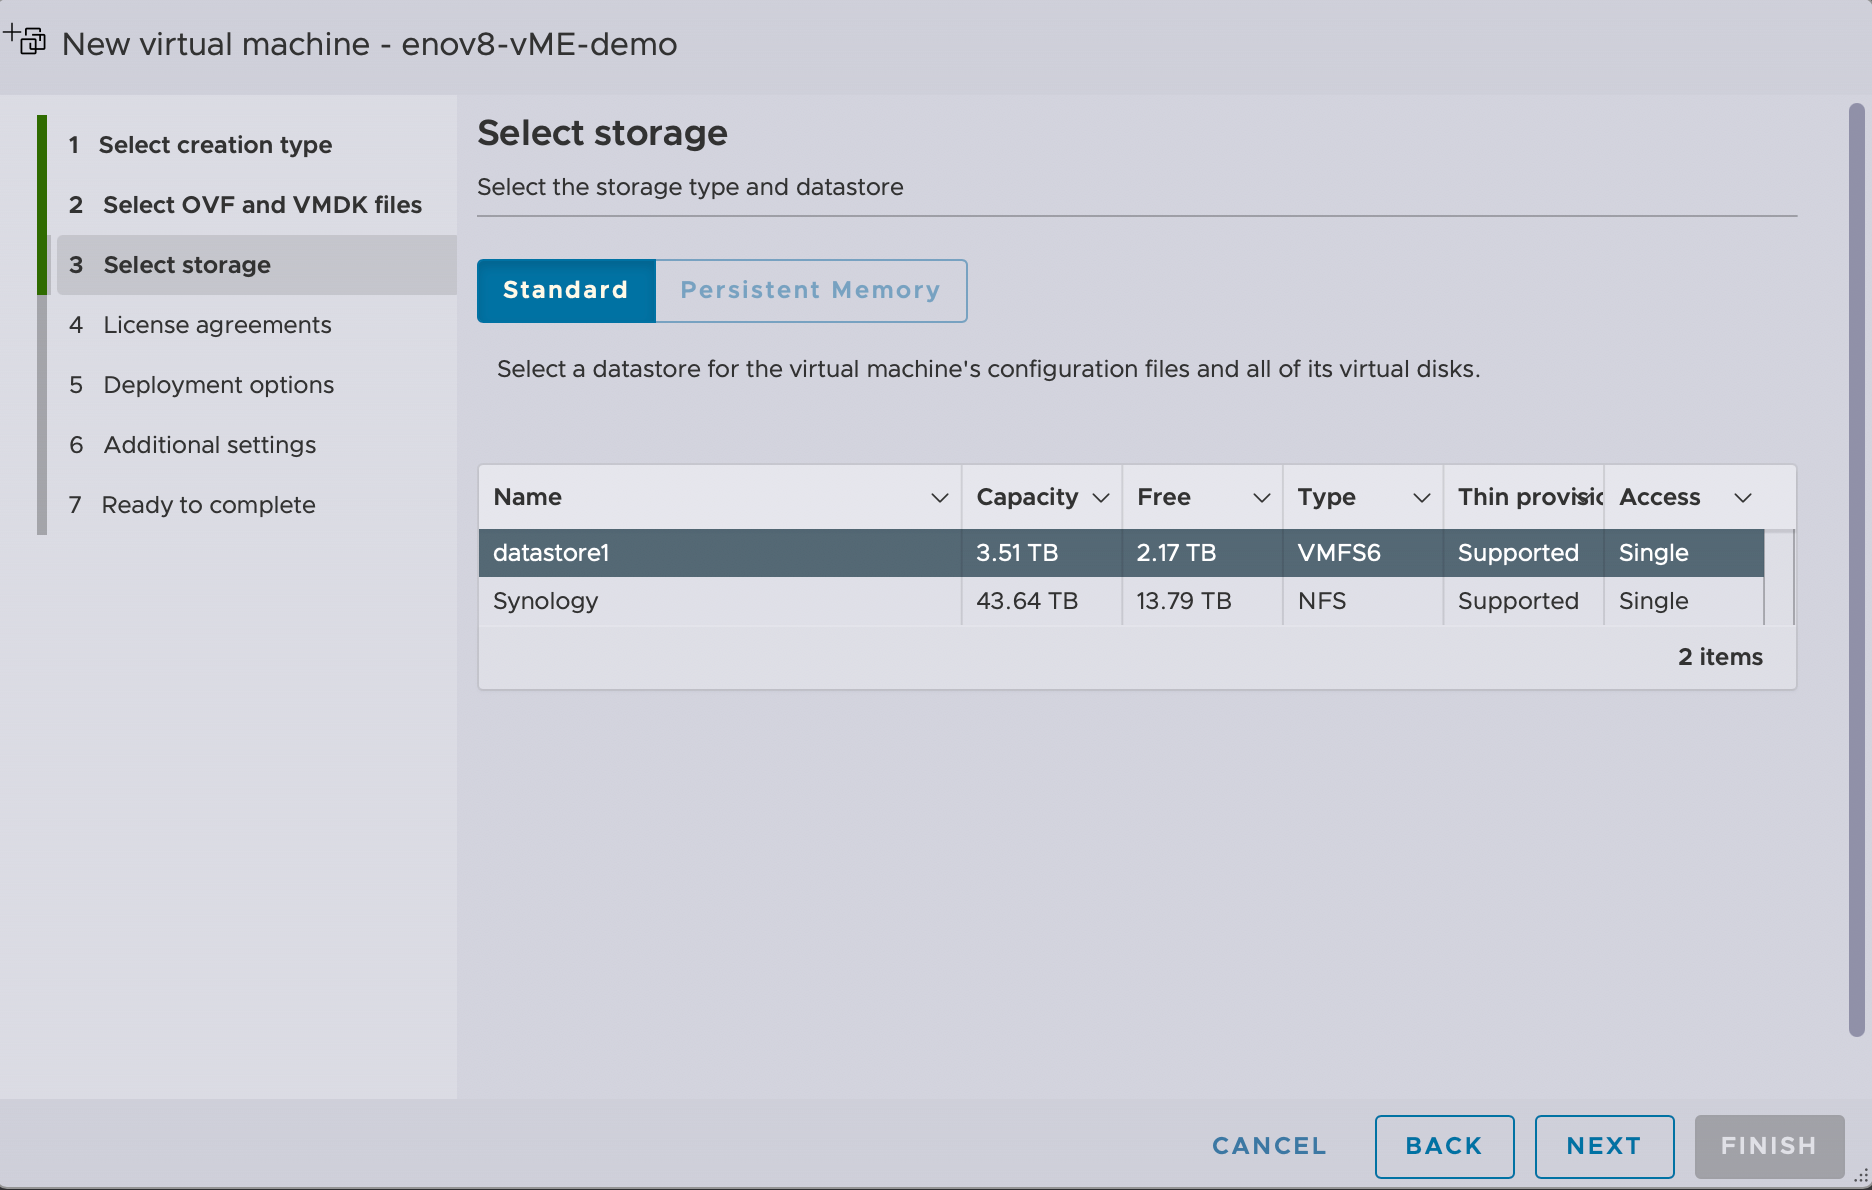
3.3 Select Storage
- Choose the storage location where you want to store the VM files.
- Click "Next."
3.4 Deployment Options
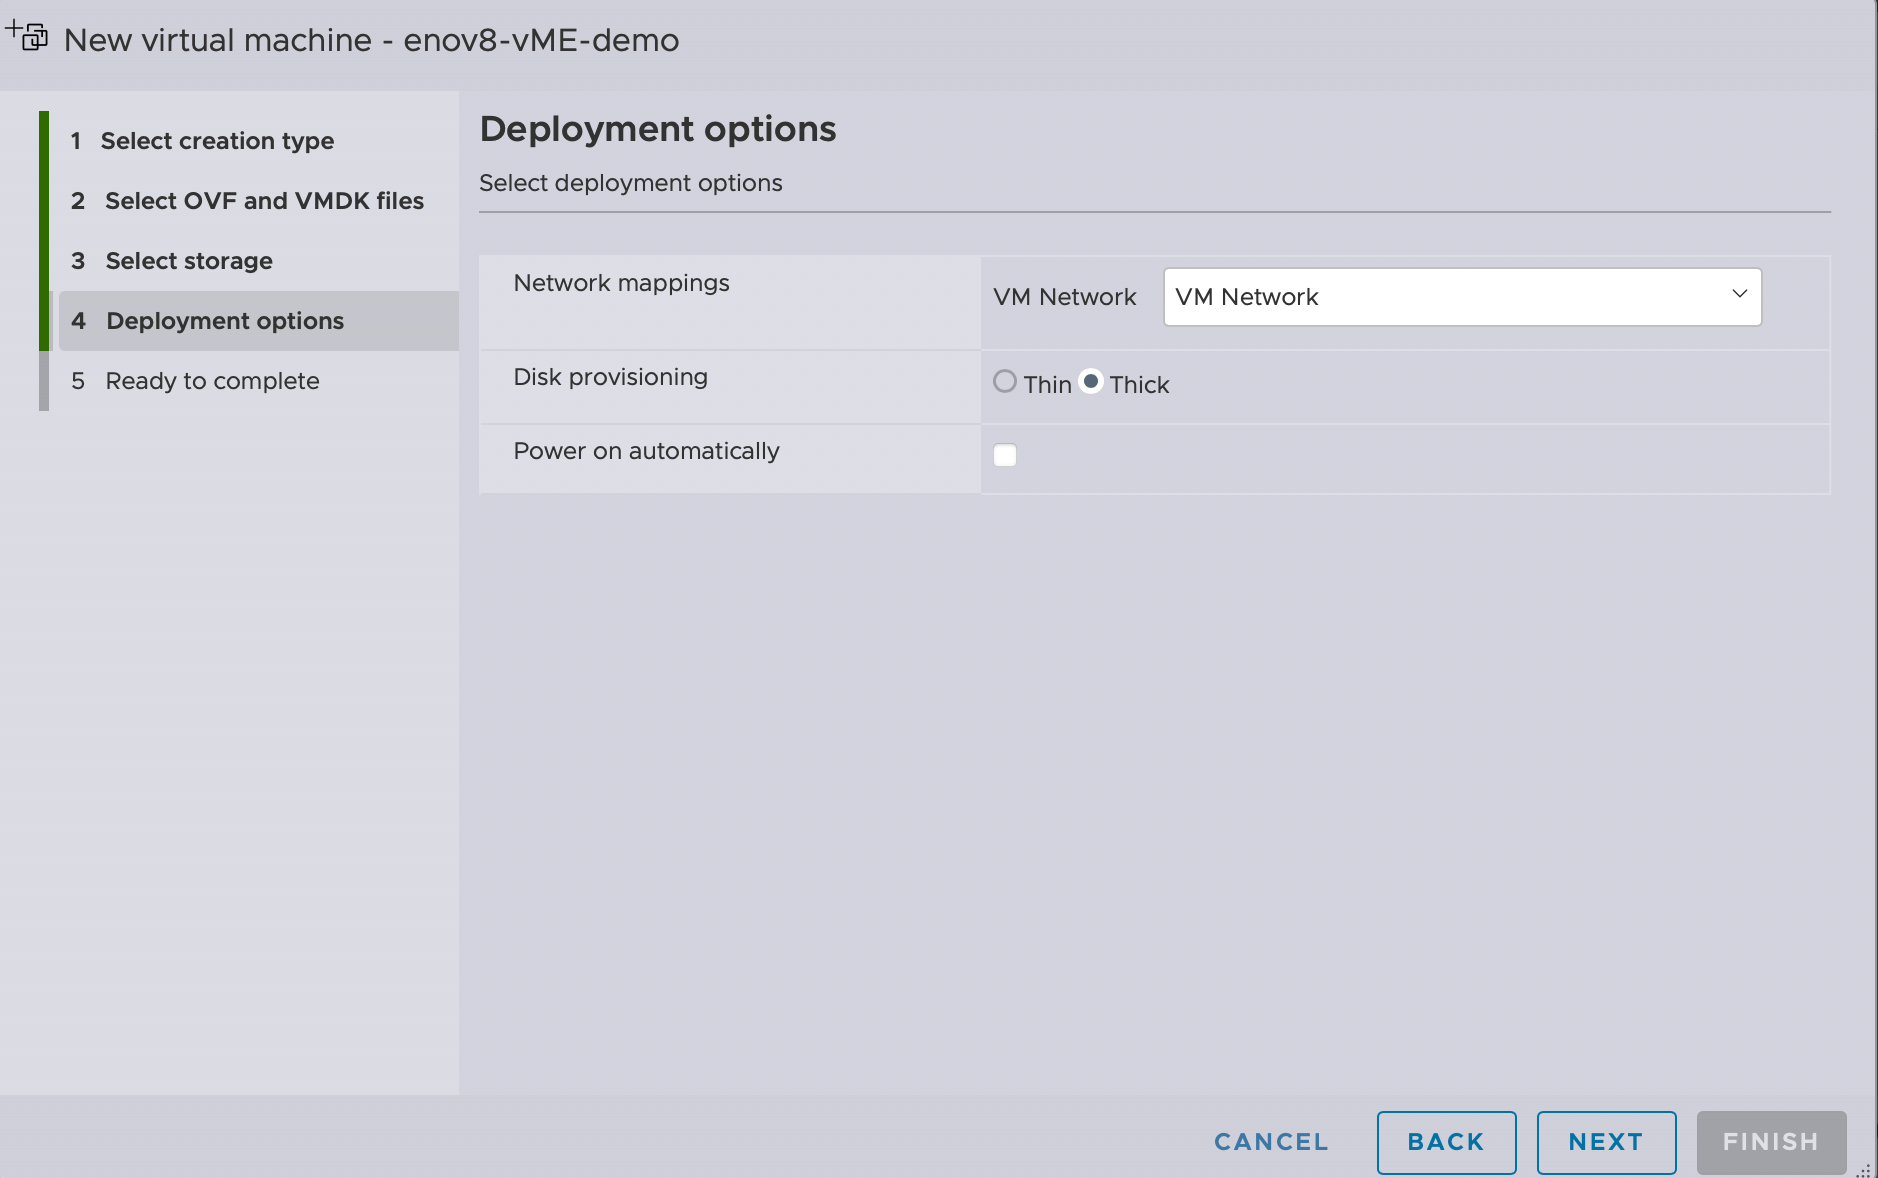
- Review the deployment options and set the Network mapping to the relevent VM Network you wish vME to connect via.
- Set Disk provisioning to Thick.
- Click "Next."
Disk Provisioning MUST be set to Thick otherwise vME will not run correctly.
3.5 Review and Finish
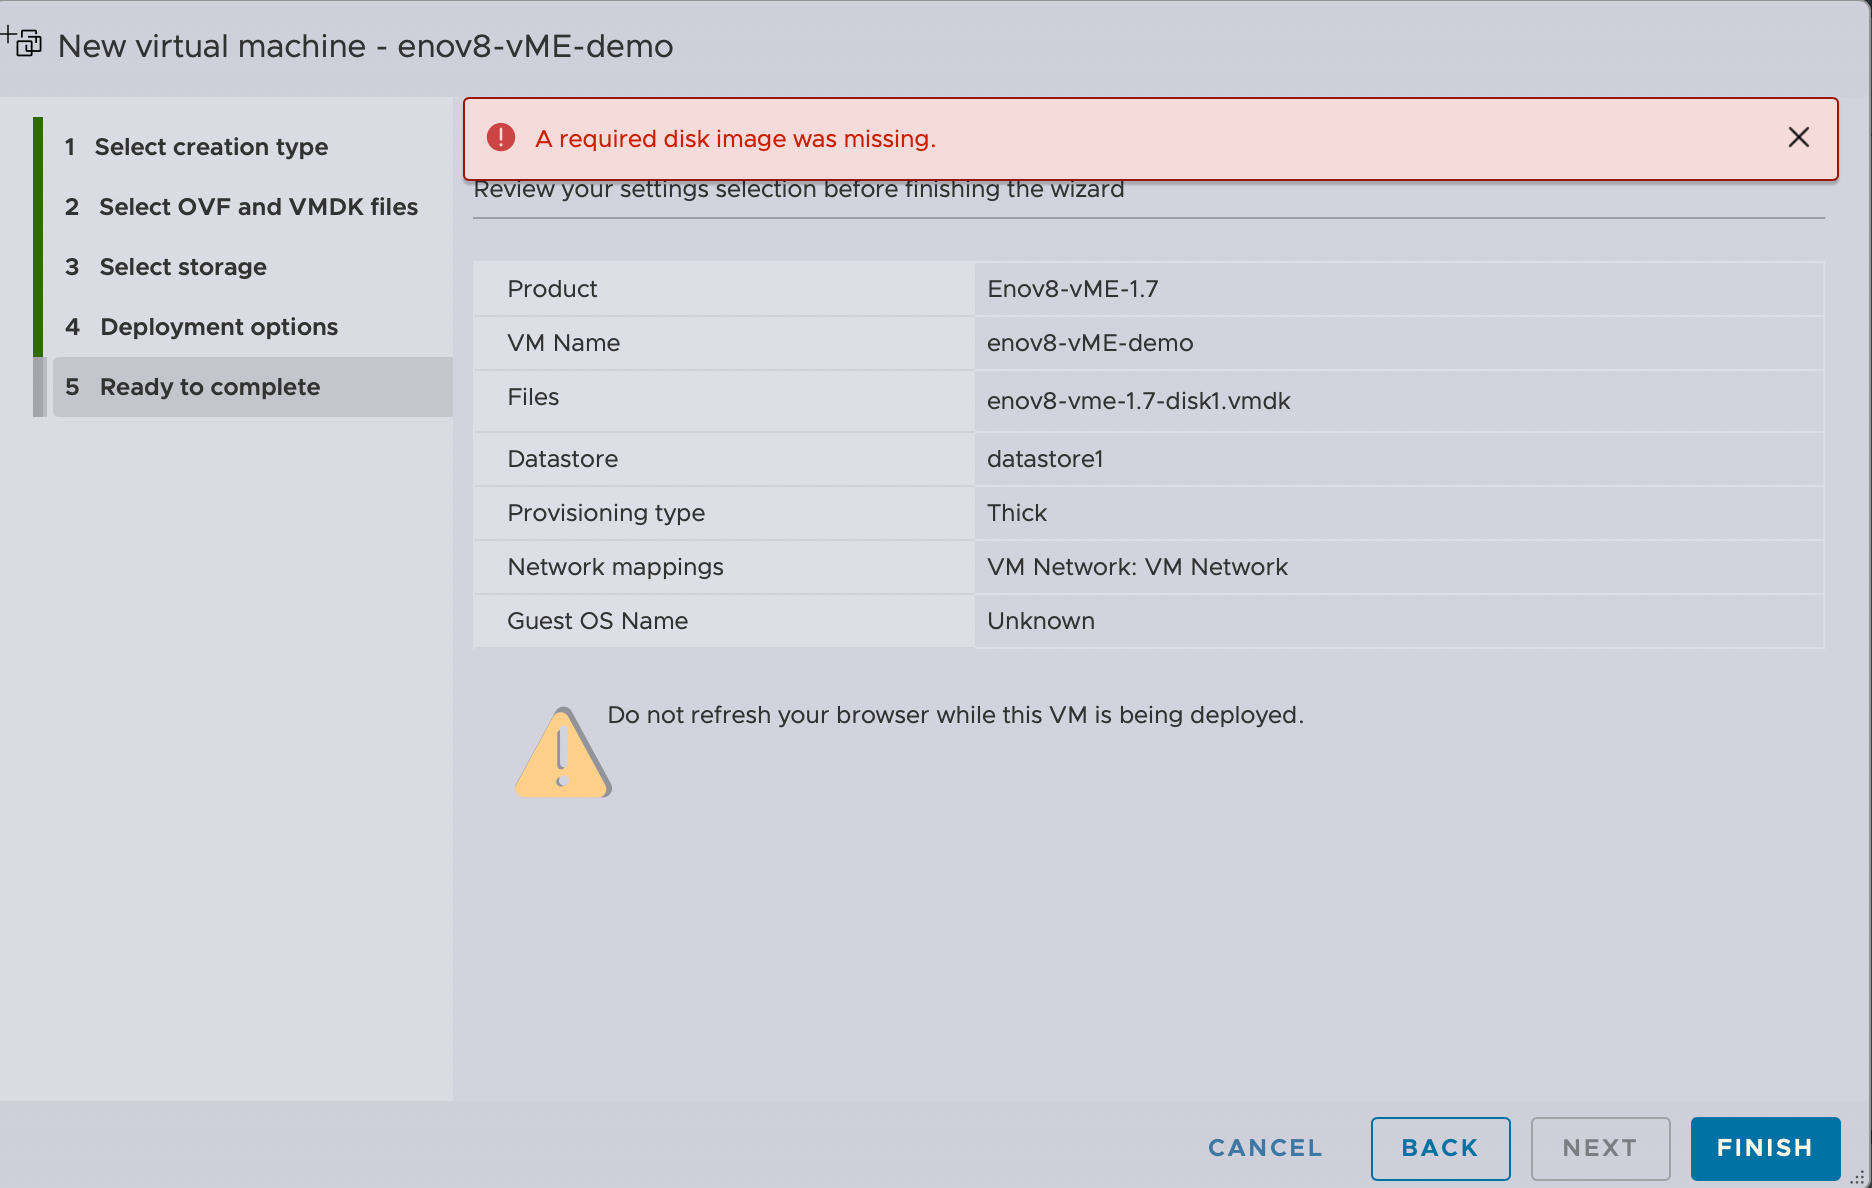
- Review the summary of your settings.
If an error message appears stating "A required disk image was missing" you can disregard the error. This message is simply stating the .vmdk disk that is part of the .ova is not yet available on the VMWare ESXi host. This file will automatically start uploading when you click Finish.
- Click "Finish" to start the deployment process.
4. Monitor Deployment
- The deployment process will begin. You can monitor the progress in the "Recent Tasks" pane at the bottom of the web interface.
Do not refresh or close your web browser tab until the deployment is complete.
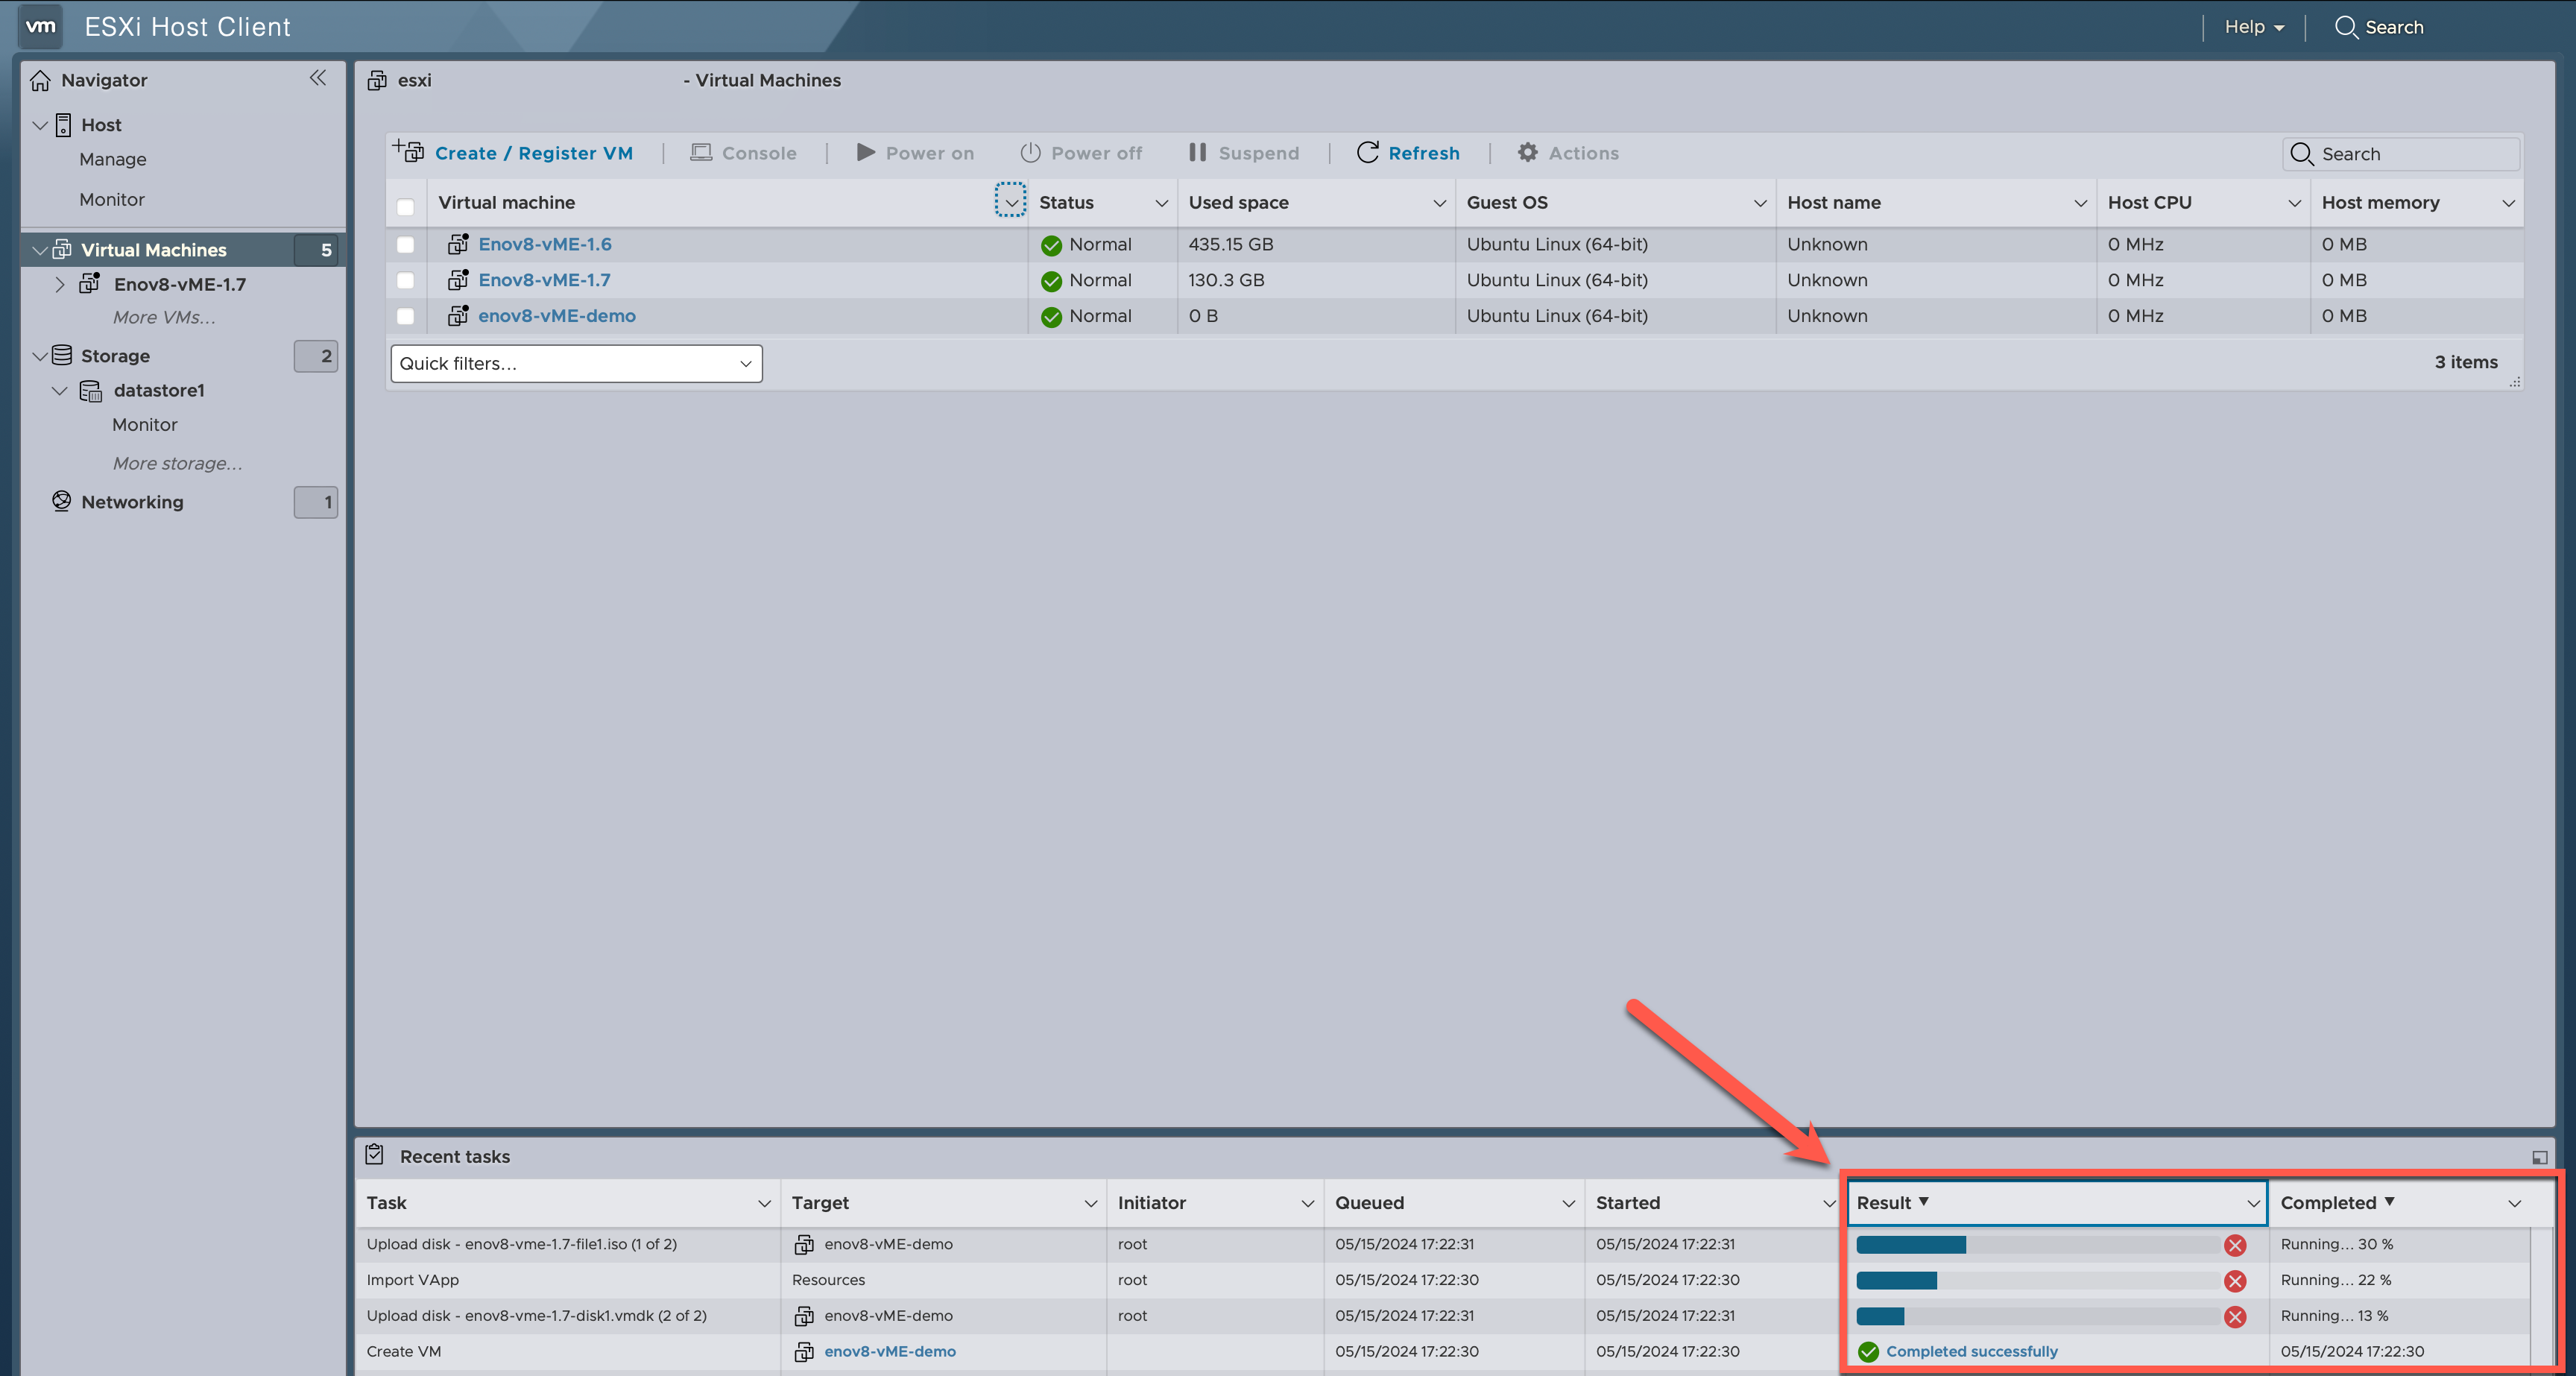
Once the deployment tasks are completed they should all show sucessful.
5. Update Configuration
- Right Click on the newly added VM and click "Edit settings".
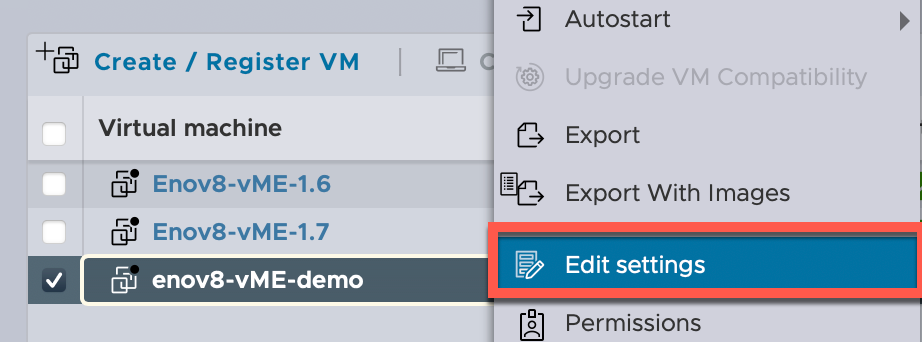
- The OVA is configured at the recommended vME size of 32 CPU cores and 128 GB memory, with a 128 GB root disk and a blank 1 TB storage pool disk on its own VMware Paravirtual controller. On a smaller host, lower the CPU and memory (no lower than 16 cores and 64 GB).
- Leave the pool disk blank: the setup wizard turns it into the storage pool. To size the pool for your sources, change that disk's capacity before first power on.
More disks can be added for more pool capacity. vME can stripe multiple disks as a single or separate storage pool(s). Note: The disks must be all the same size and performance if striping under the same pool.
6. Power On the VM
- Once the deployment is complete, navigate to the newly created VM.
- Click on the VM name to open its details.
- Click the "Power on" button to start the VM.
After some time the IP Address will be shown within the VM General Information > Networking section. If it doesn't click Refresh within the VMWare console.
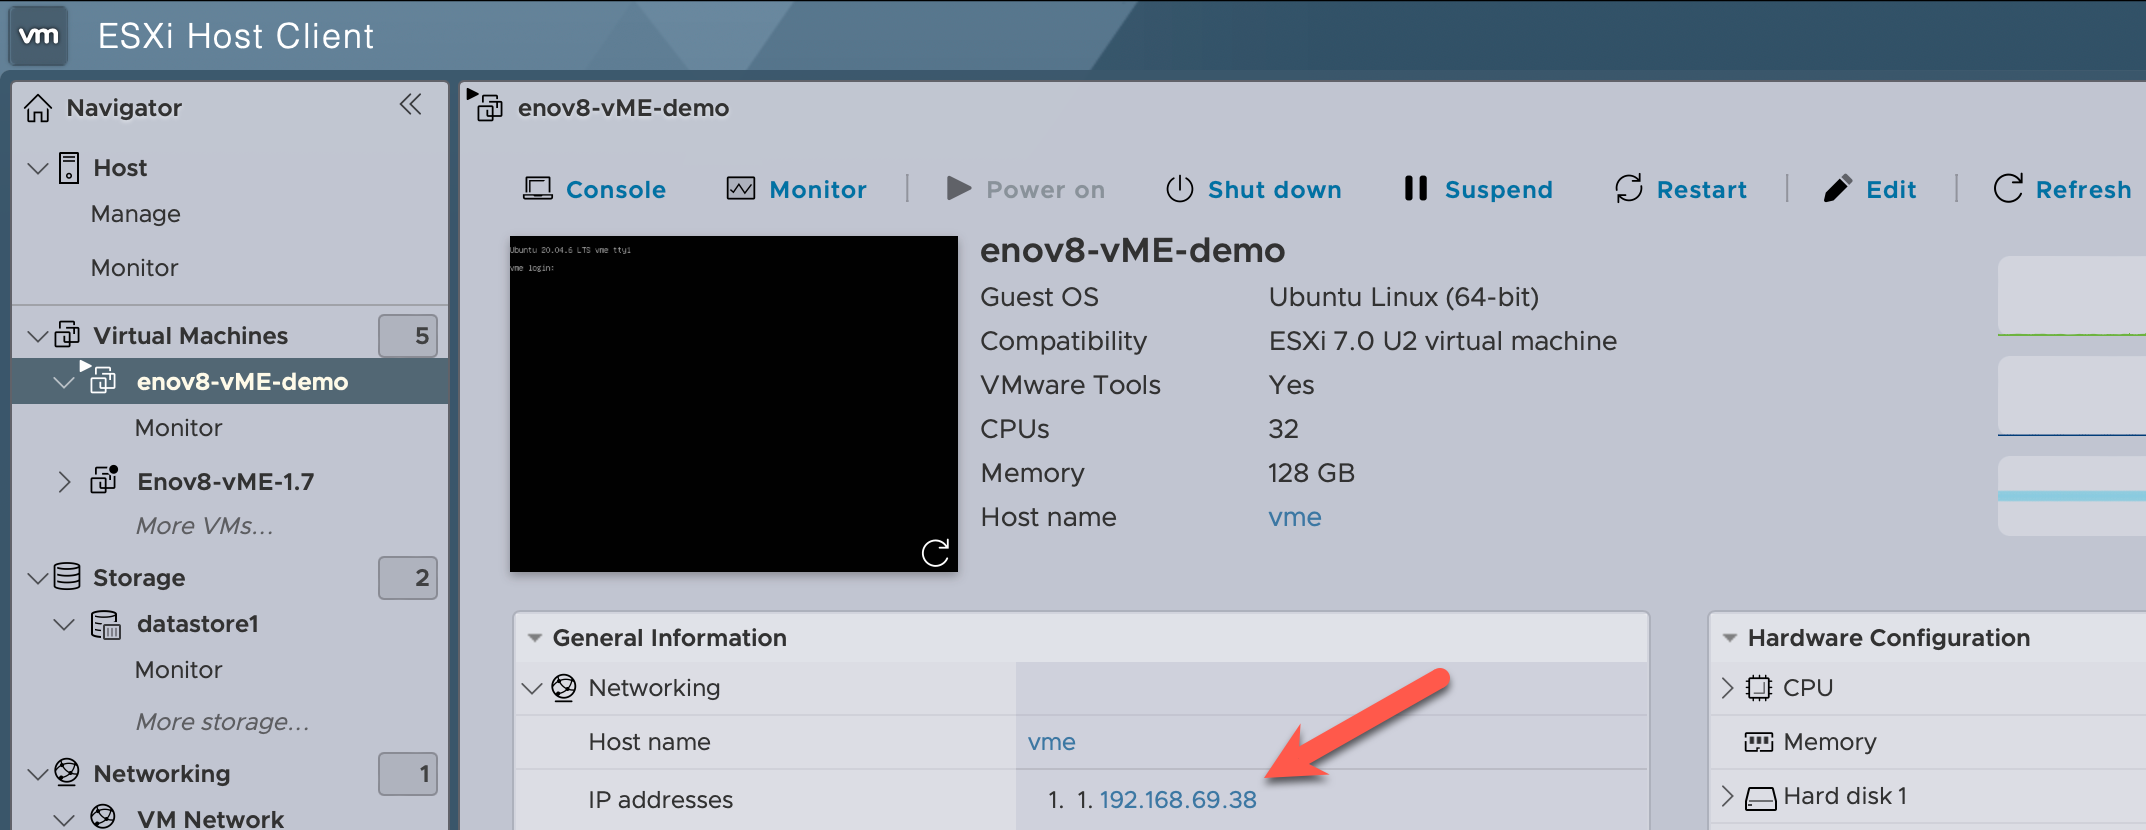
- Open the VM console. On first boot the appliance opens the VME Appliance Setup menu there. Use it to set networking, the hostname and the NTP server; see Console setup. Its header shows the address to browse to as Web setup.
Next step: Complete the setup wizard
Once the console setup is done, browse to the address its summary shows (https://<appliance-ip>/, also shown on the console as Web console) and complete the setup wizard before using vME. The wizard walks you through TLS, licence registration, password change, authentication, timezone and creating the storage pool on the blank pool disk.
→ Continue to the Setup Wizard (First Boot) Guide for the full step-by-step walkthrough.