VMware install guide
The DataFactory appliance for VMware is an OVA: a ready-made Ubuntu 22.04 virtual machine with DataFactory inside, with an OS disk and a blank data disk. Deploy it, power it on, and DataFactory sets itself up on the first boot. It needs no internet access.
This guide uses the ESXi host client. For vCenter, see Deploy with vCenter.
Steps to deploy DataFactory on VMware ESXi
1. Download the OVA
Enov8 sends you a download link for the appliance, one .ova file: datafactory-1.3.0-release.ova. For other versions the name follows the pattern datafactory-<version>-release.ova.
Download it to a computer that can reach your VMware host.
2. Check the host can run it
The OVA runs on vSphere and ESXi 6.5 or later. It ships at this size:
| Resource | As shipped | Minimum |
|---|---|---|
| vCPU | 8 | 4 |
| Memory | 32 GB, all of it reserved | 16 GB |
| OS disk (Hard disk 1) | 128 GB | as shipped |
| Data disk (Hard disk 2) | 200 GB, blank, on its own controller | 50 GB |
The OVA reserves all of the VM's memory, so the host needs 32 GB free for it. On a smaller host, lower the CPU and memory in step 7.
The data disk holds the database and generated files. Size it for your data. To make it larger, grow it before the first power on (step 7).
Users reach DataFactory on port 443. Port 80 redirects to it. The appliance needs outbound access only to the databases your users connect to, plus your identity provider and AI endpoint if you use them.
3. Log in to the ESXi host client
- Open your web browser.
- Enter the IP address or host name of your ESXi host.
- Log in with your administrator credentials.
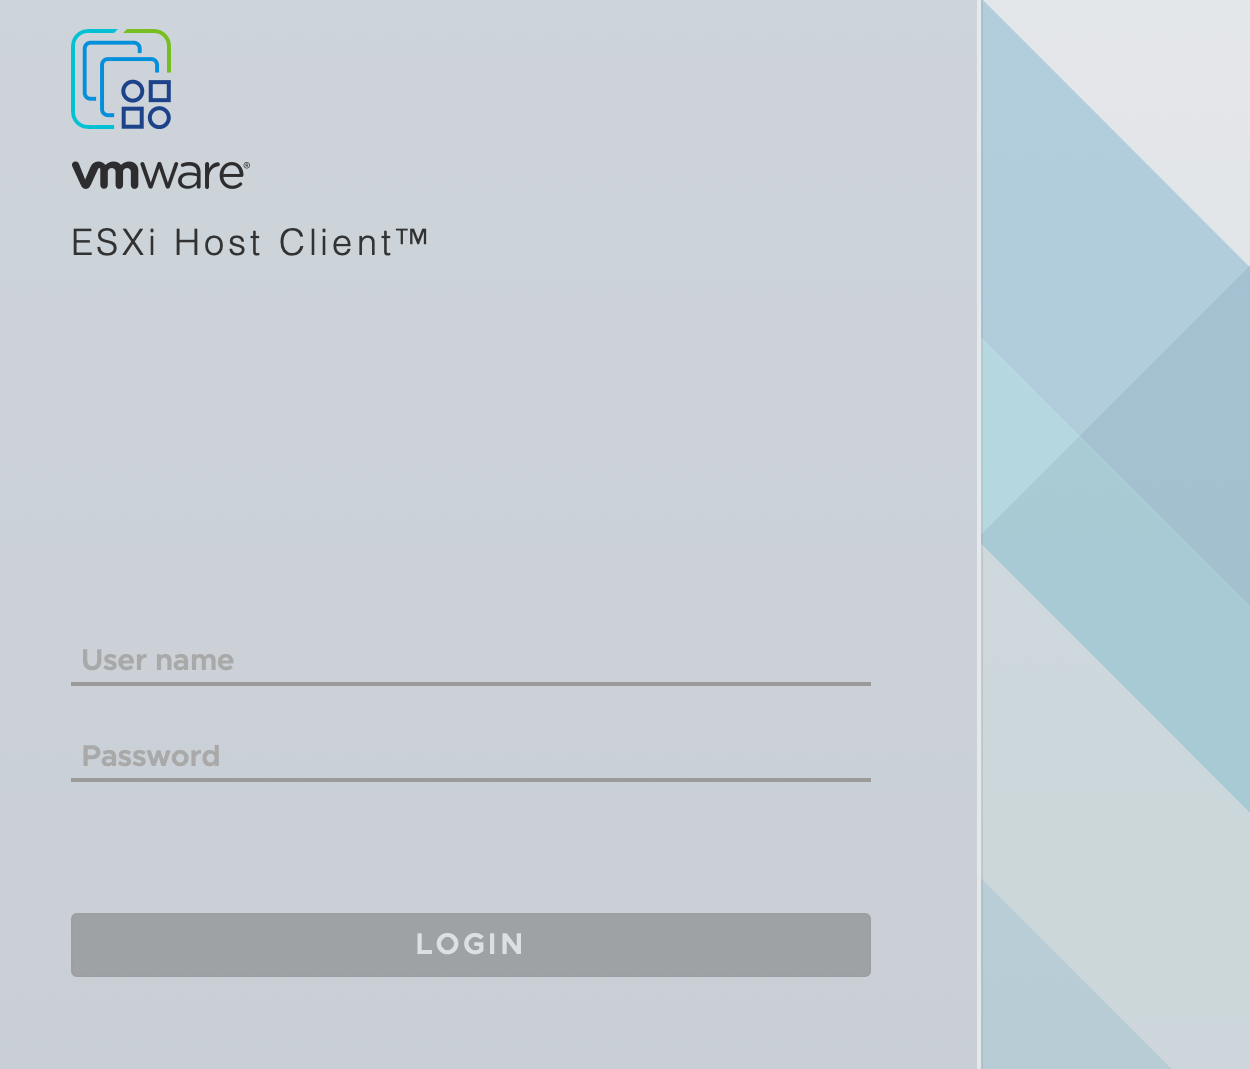
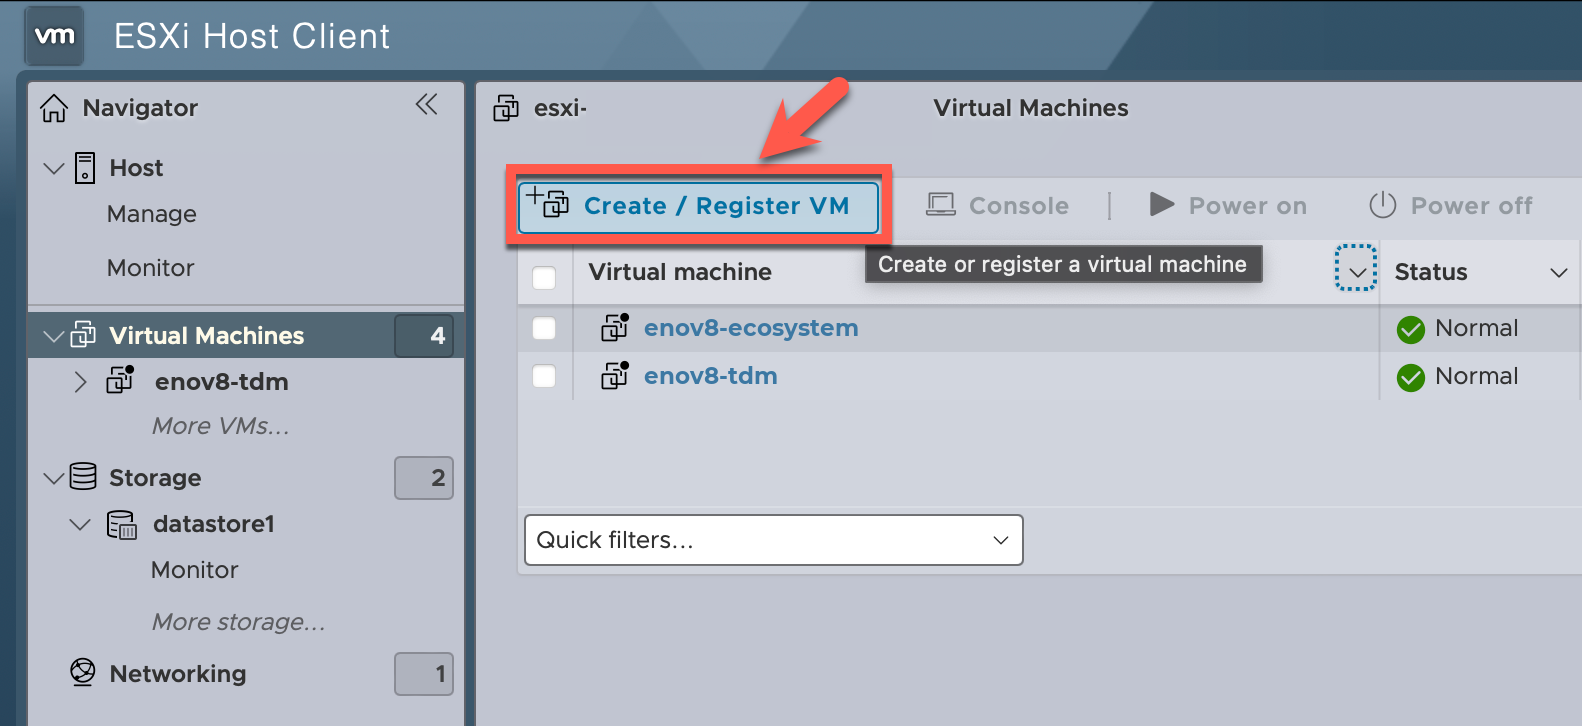
4. Create / Register VM
- In the Navigator on the left, click Virtual Machines.
- Click Create / Register VM.
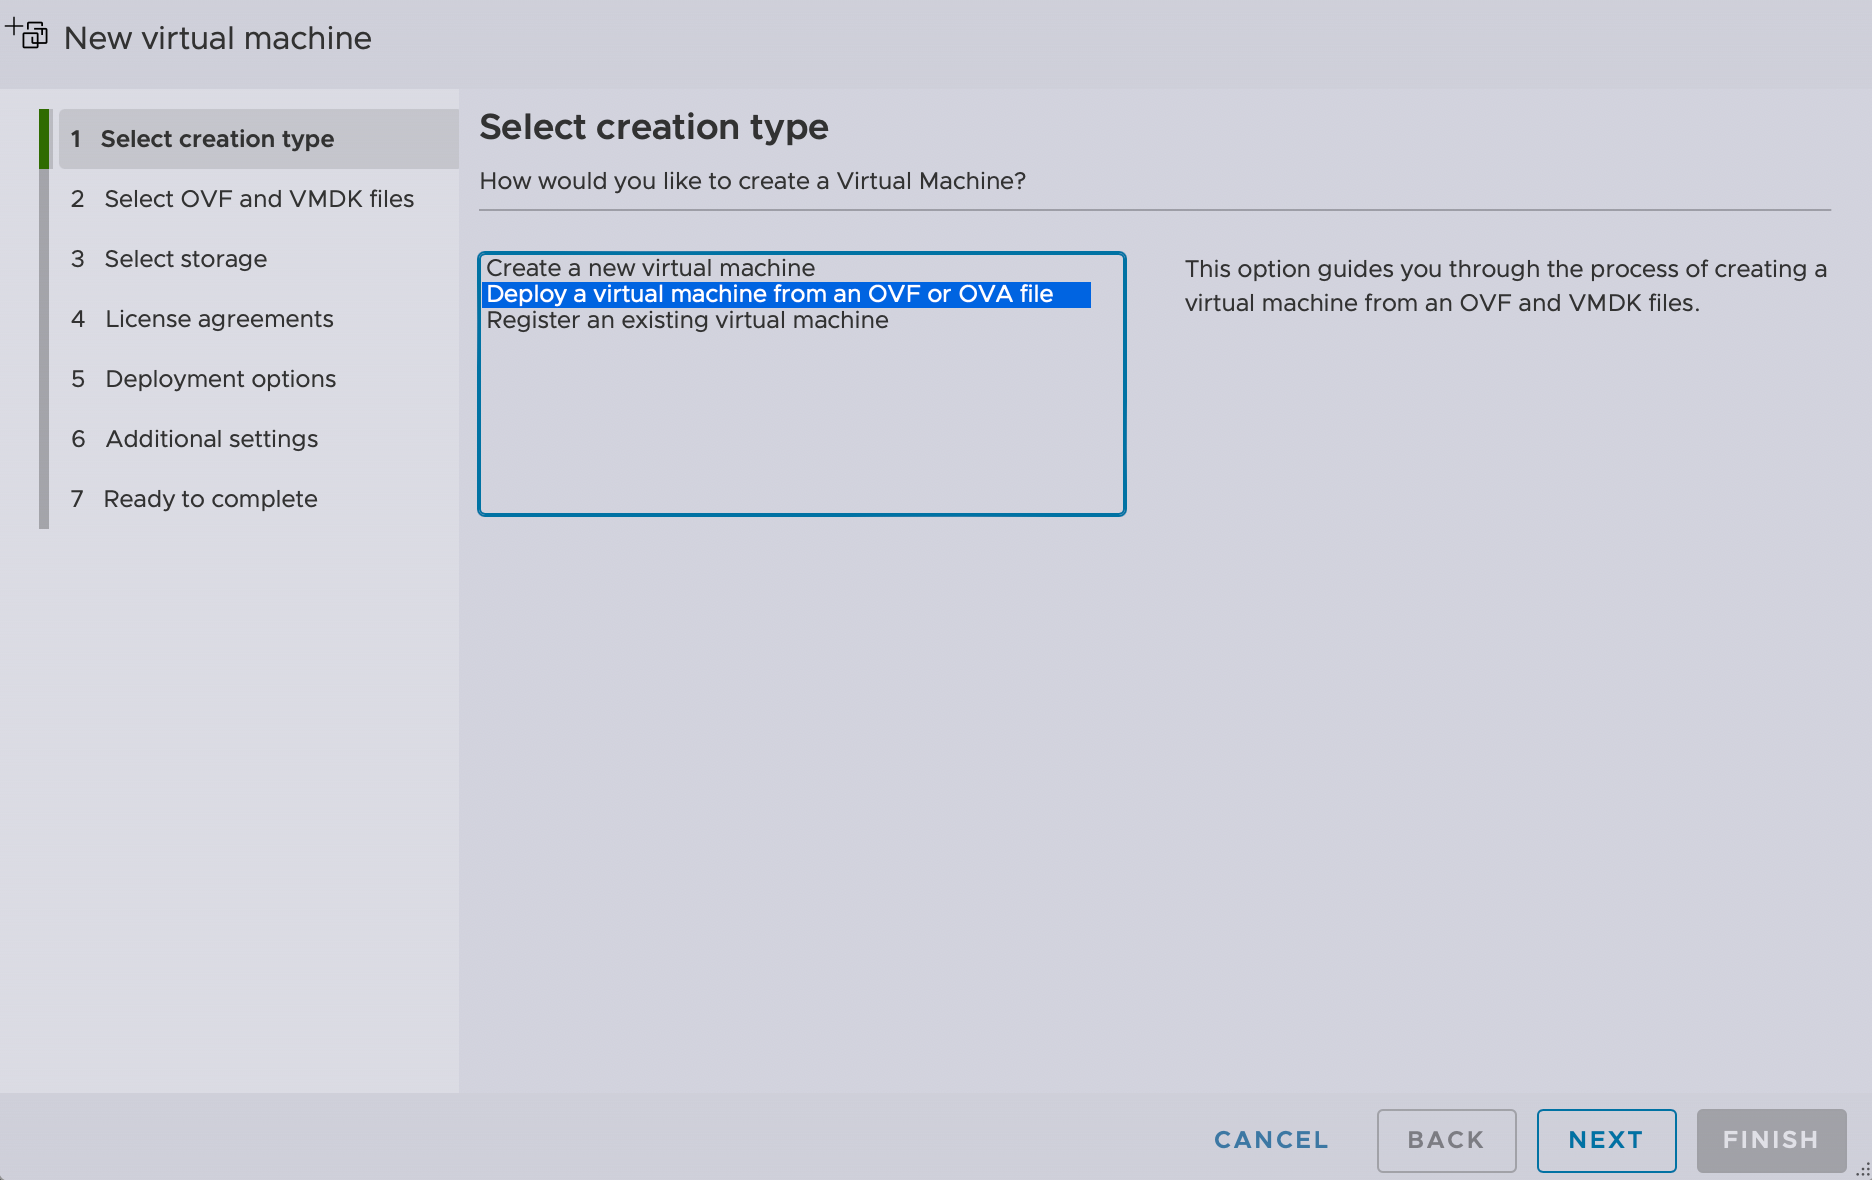
5. New virtual machine wizard
5.1 Select creation type
- Select Deploy a virtual machine from an OVF or OVA file and click Next.
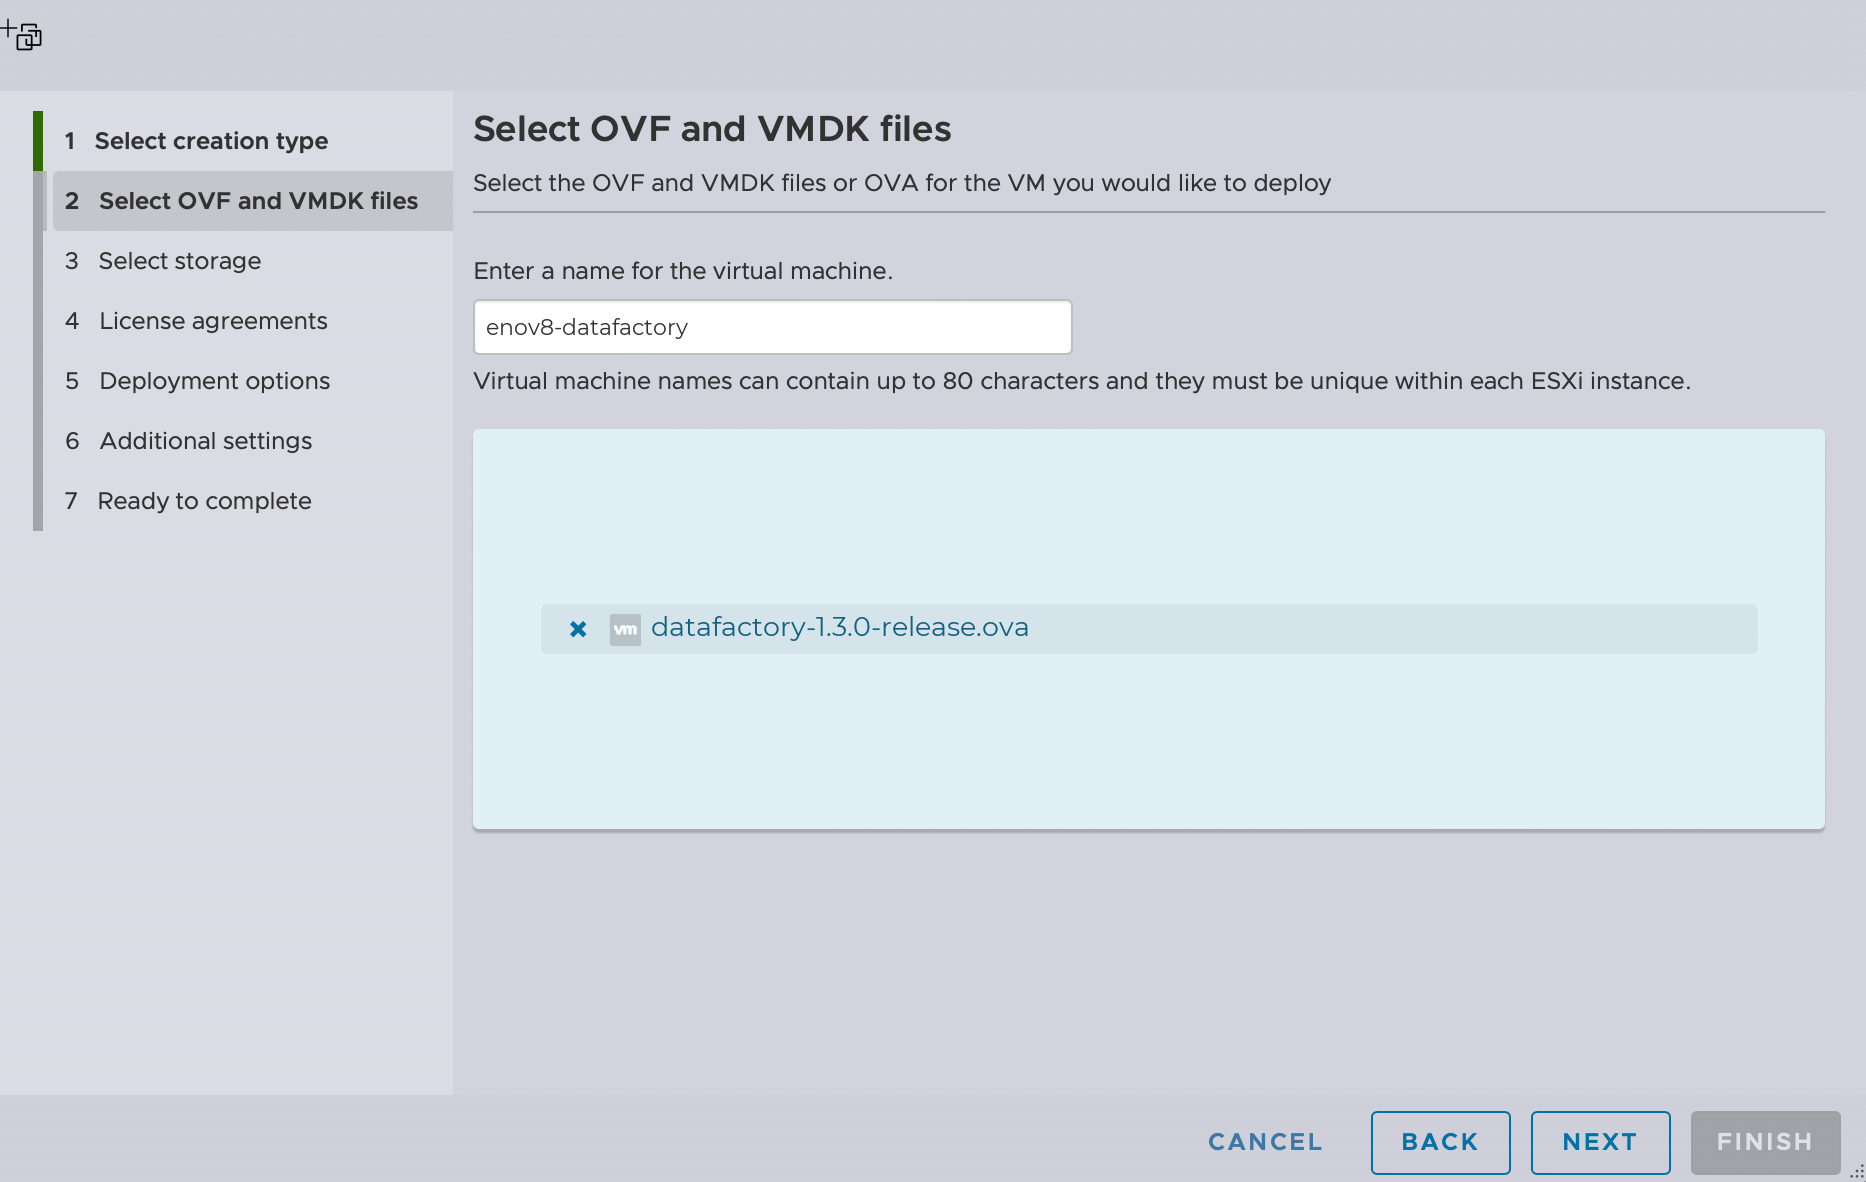
5.2 Select OVF and VMDK files
- Enter a name for the virtual machine, for example
datafactory-1.3.1. - Click Click to select files or drag/drop and select
datafactory-1.3.0-release.ova. - Click Next.
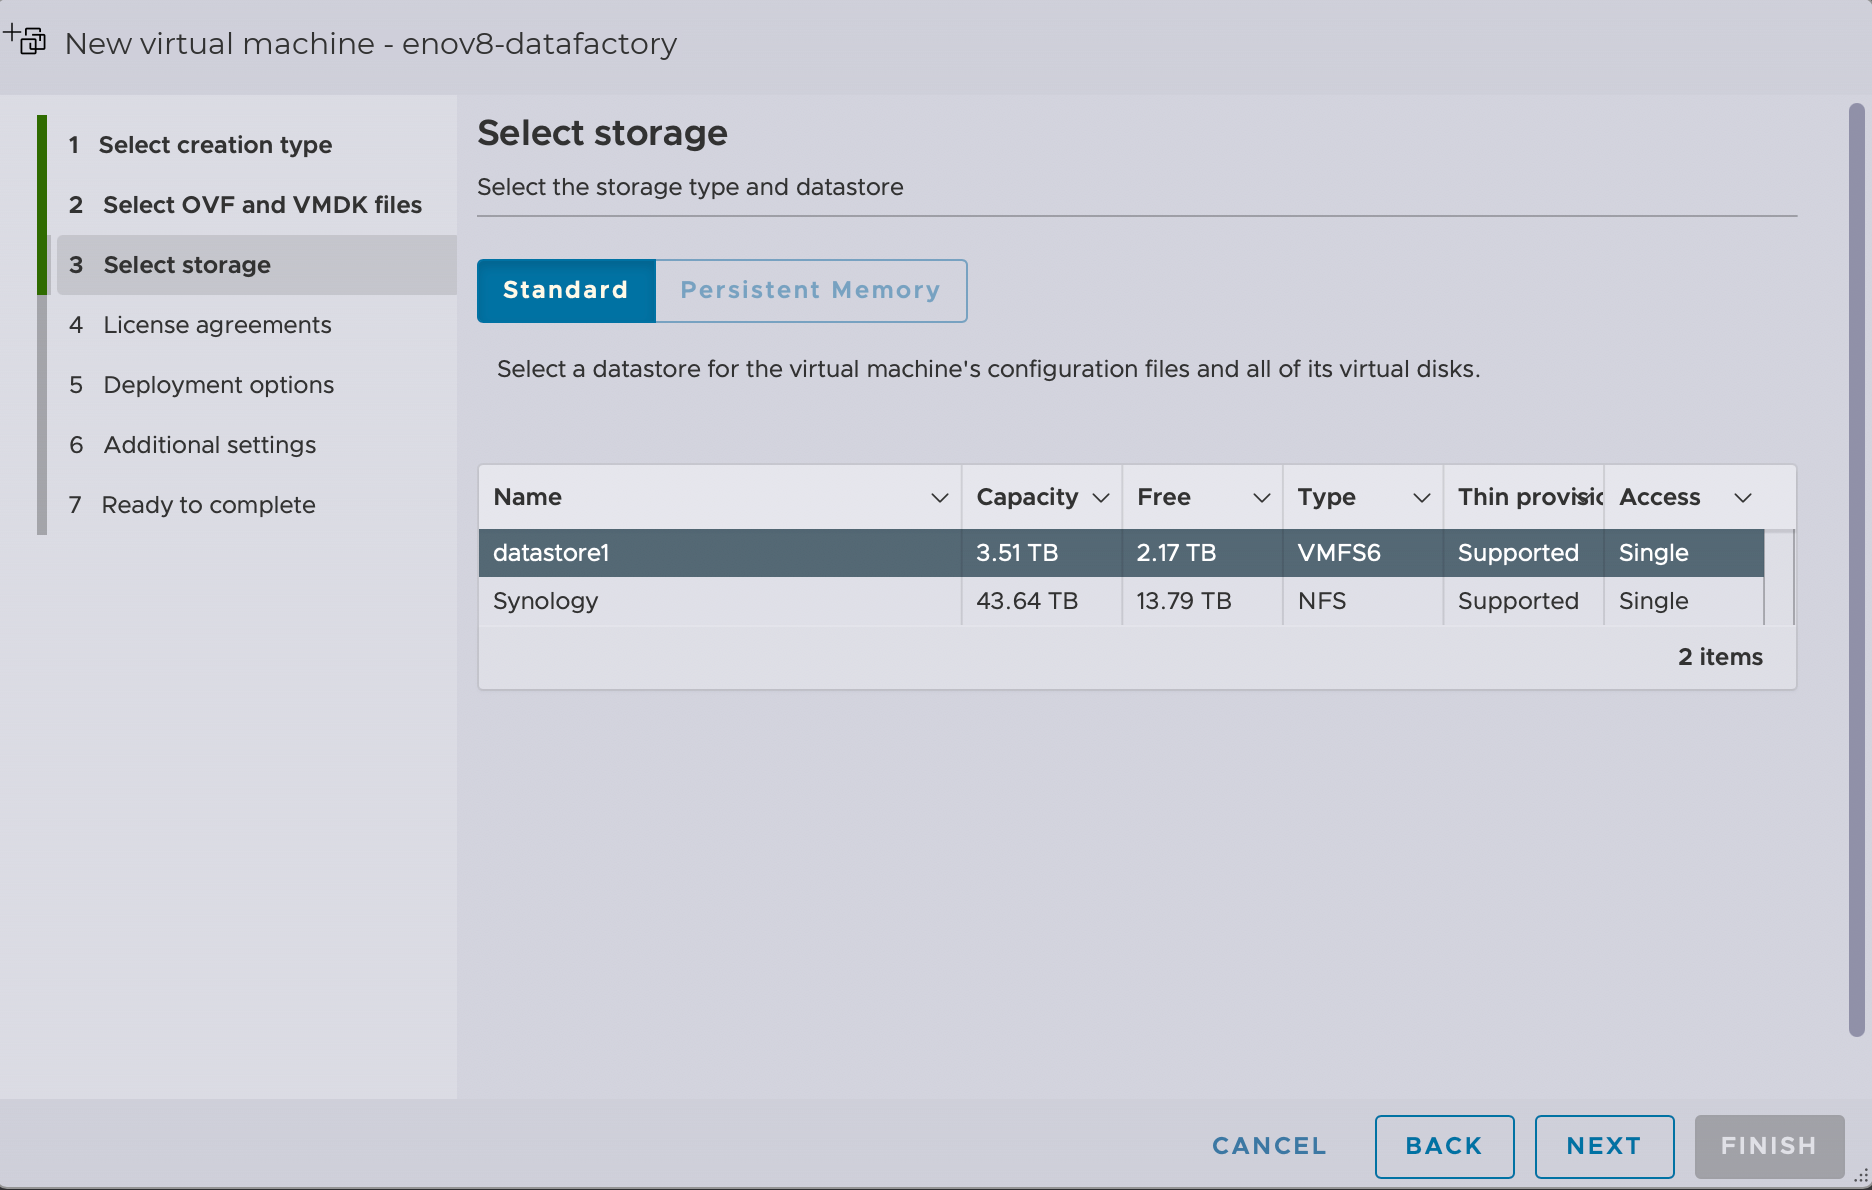
5.3 Select storage
- Choose the datastore for the virtual machine and its disks, and click Next.
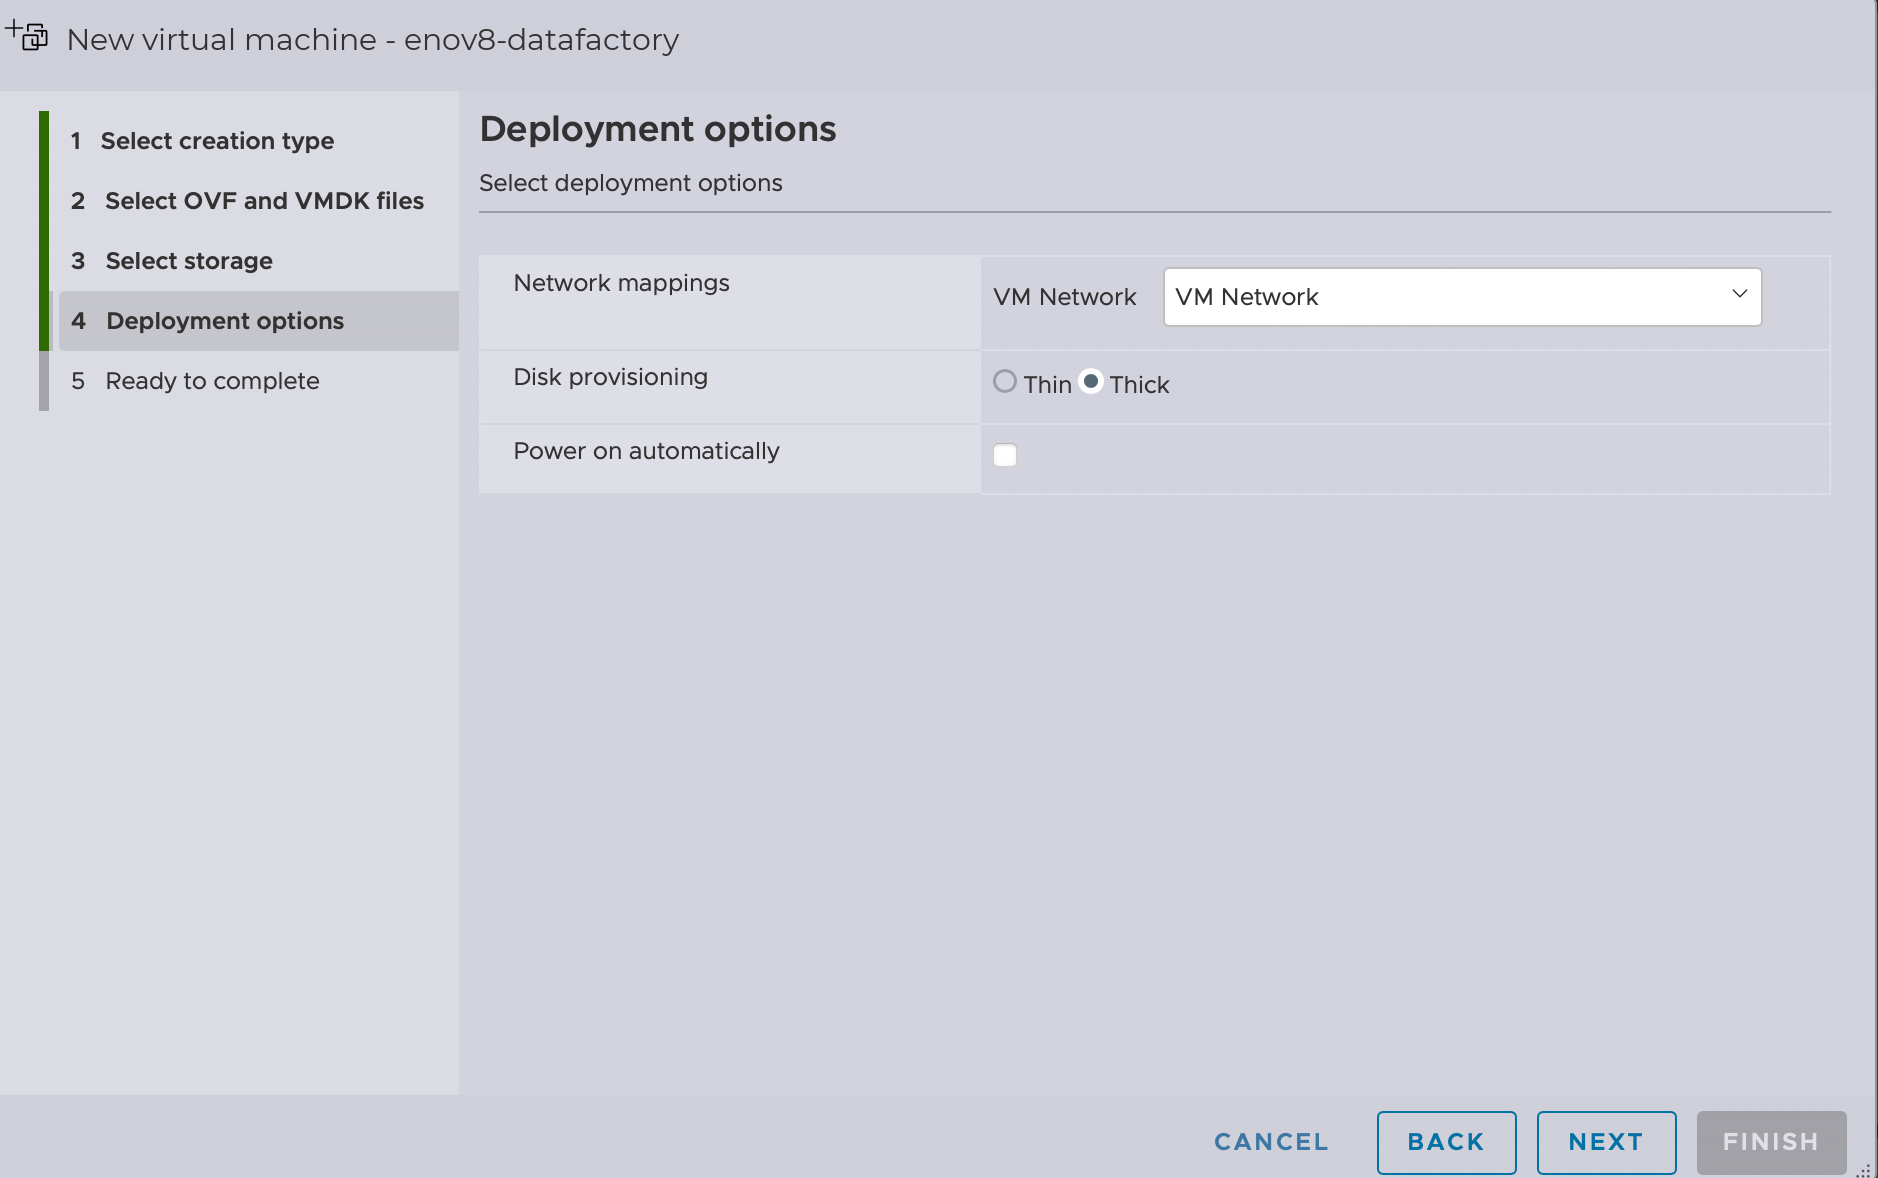
5.4 Deployment options
- Network mappings: map VM Network to the port group your users and databases are on.
- Disk provisioning: choose Thin or Thick.
- Power on automatically: clear it if you want to change the size or grow the data disk in step 7.
- Click Next.
Make sure the selected network can reach the databases DataFactory will connect to.
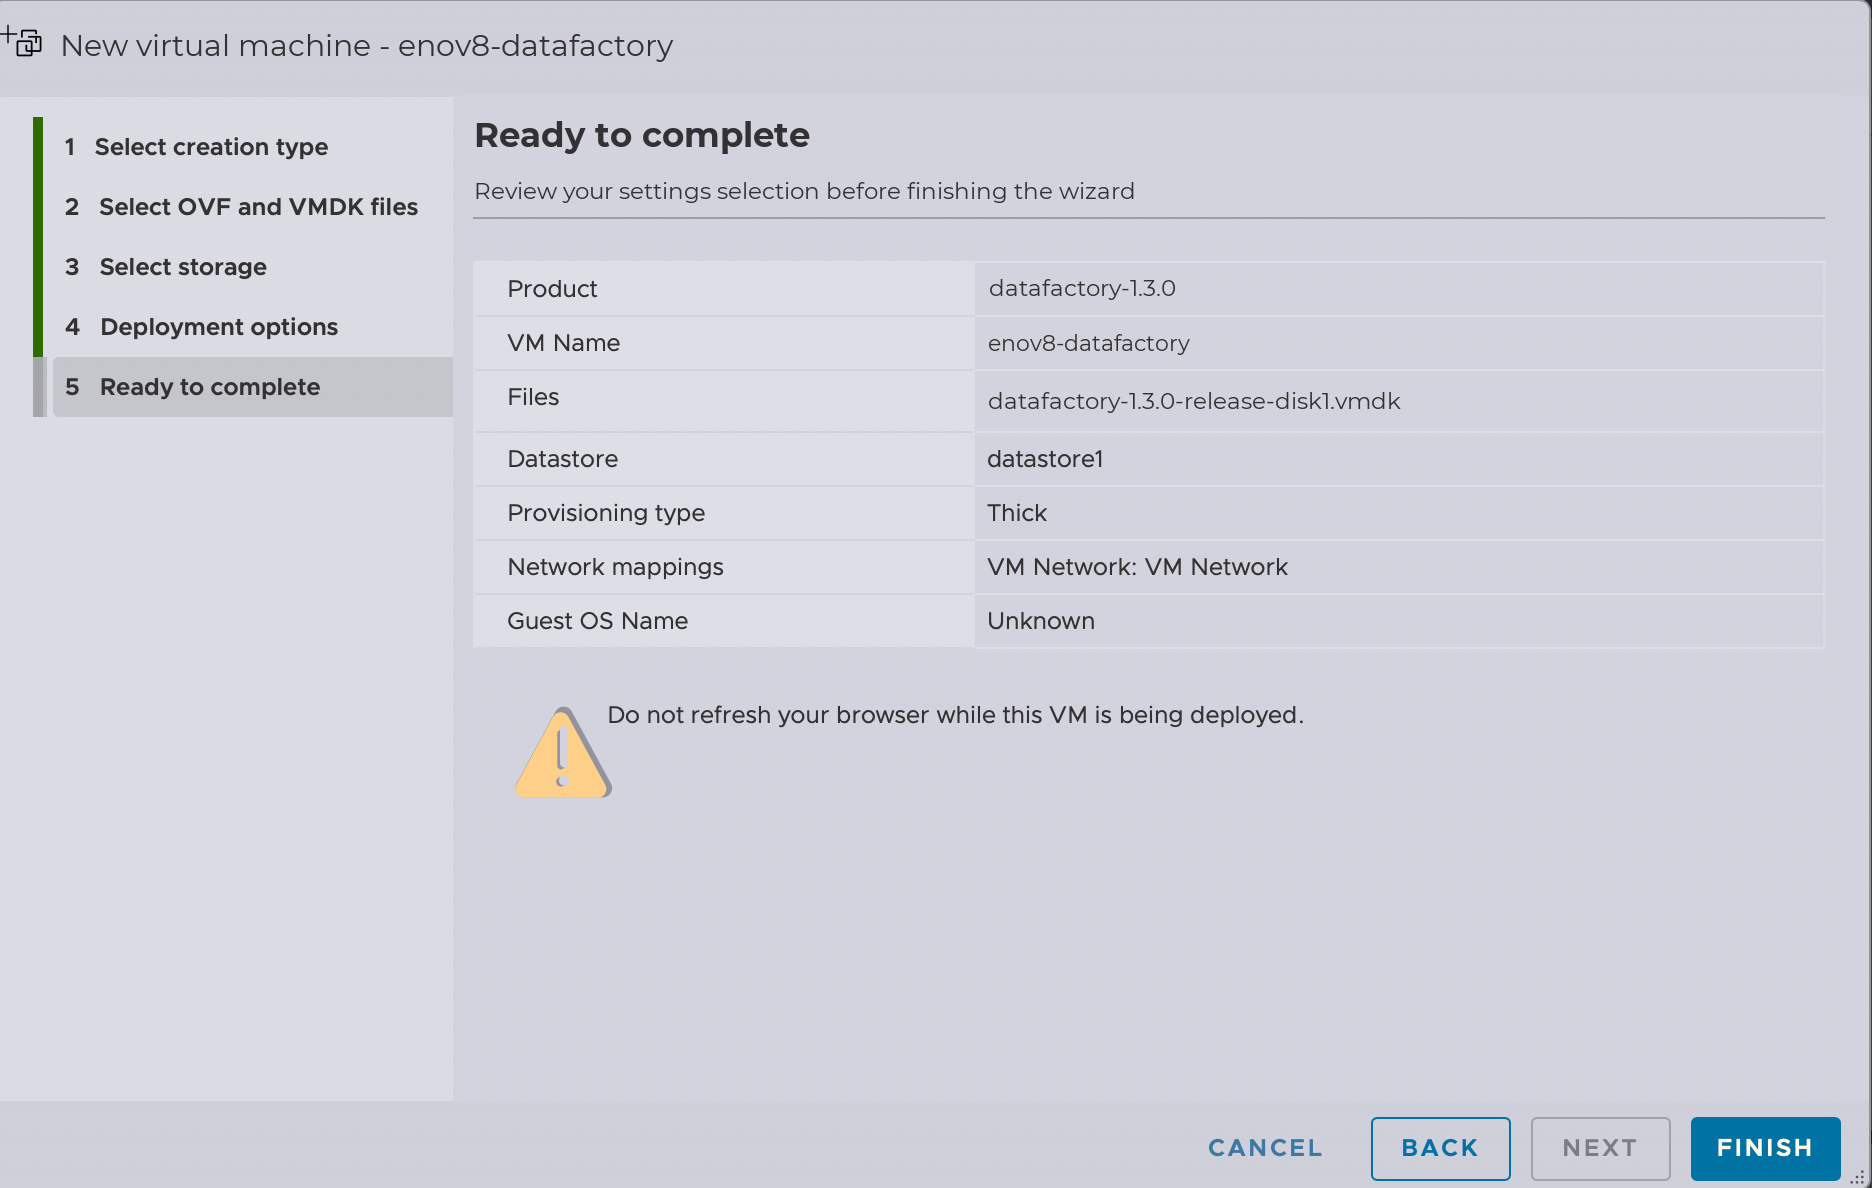
5.5 Ready to complete
- Review the summary of your settings.
- Click Finish to start the deployment.
6. Monitor the upload
- The OVA uploads to the host. Follow the progress in the Recent tasks pane at the bottom of the page.
Do not refresh or close the browser tab until the upload is complete.
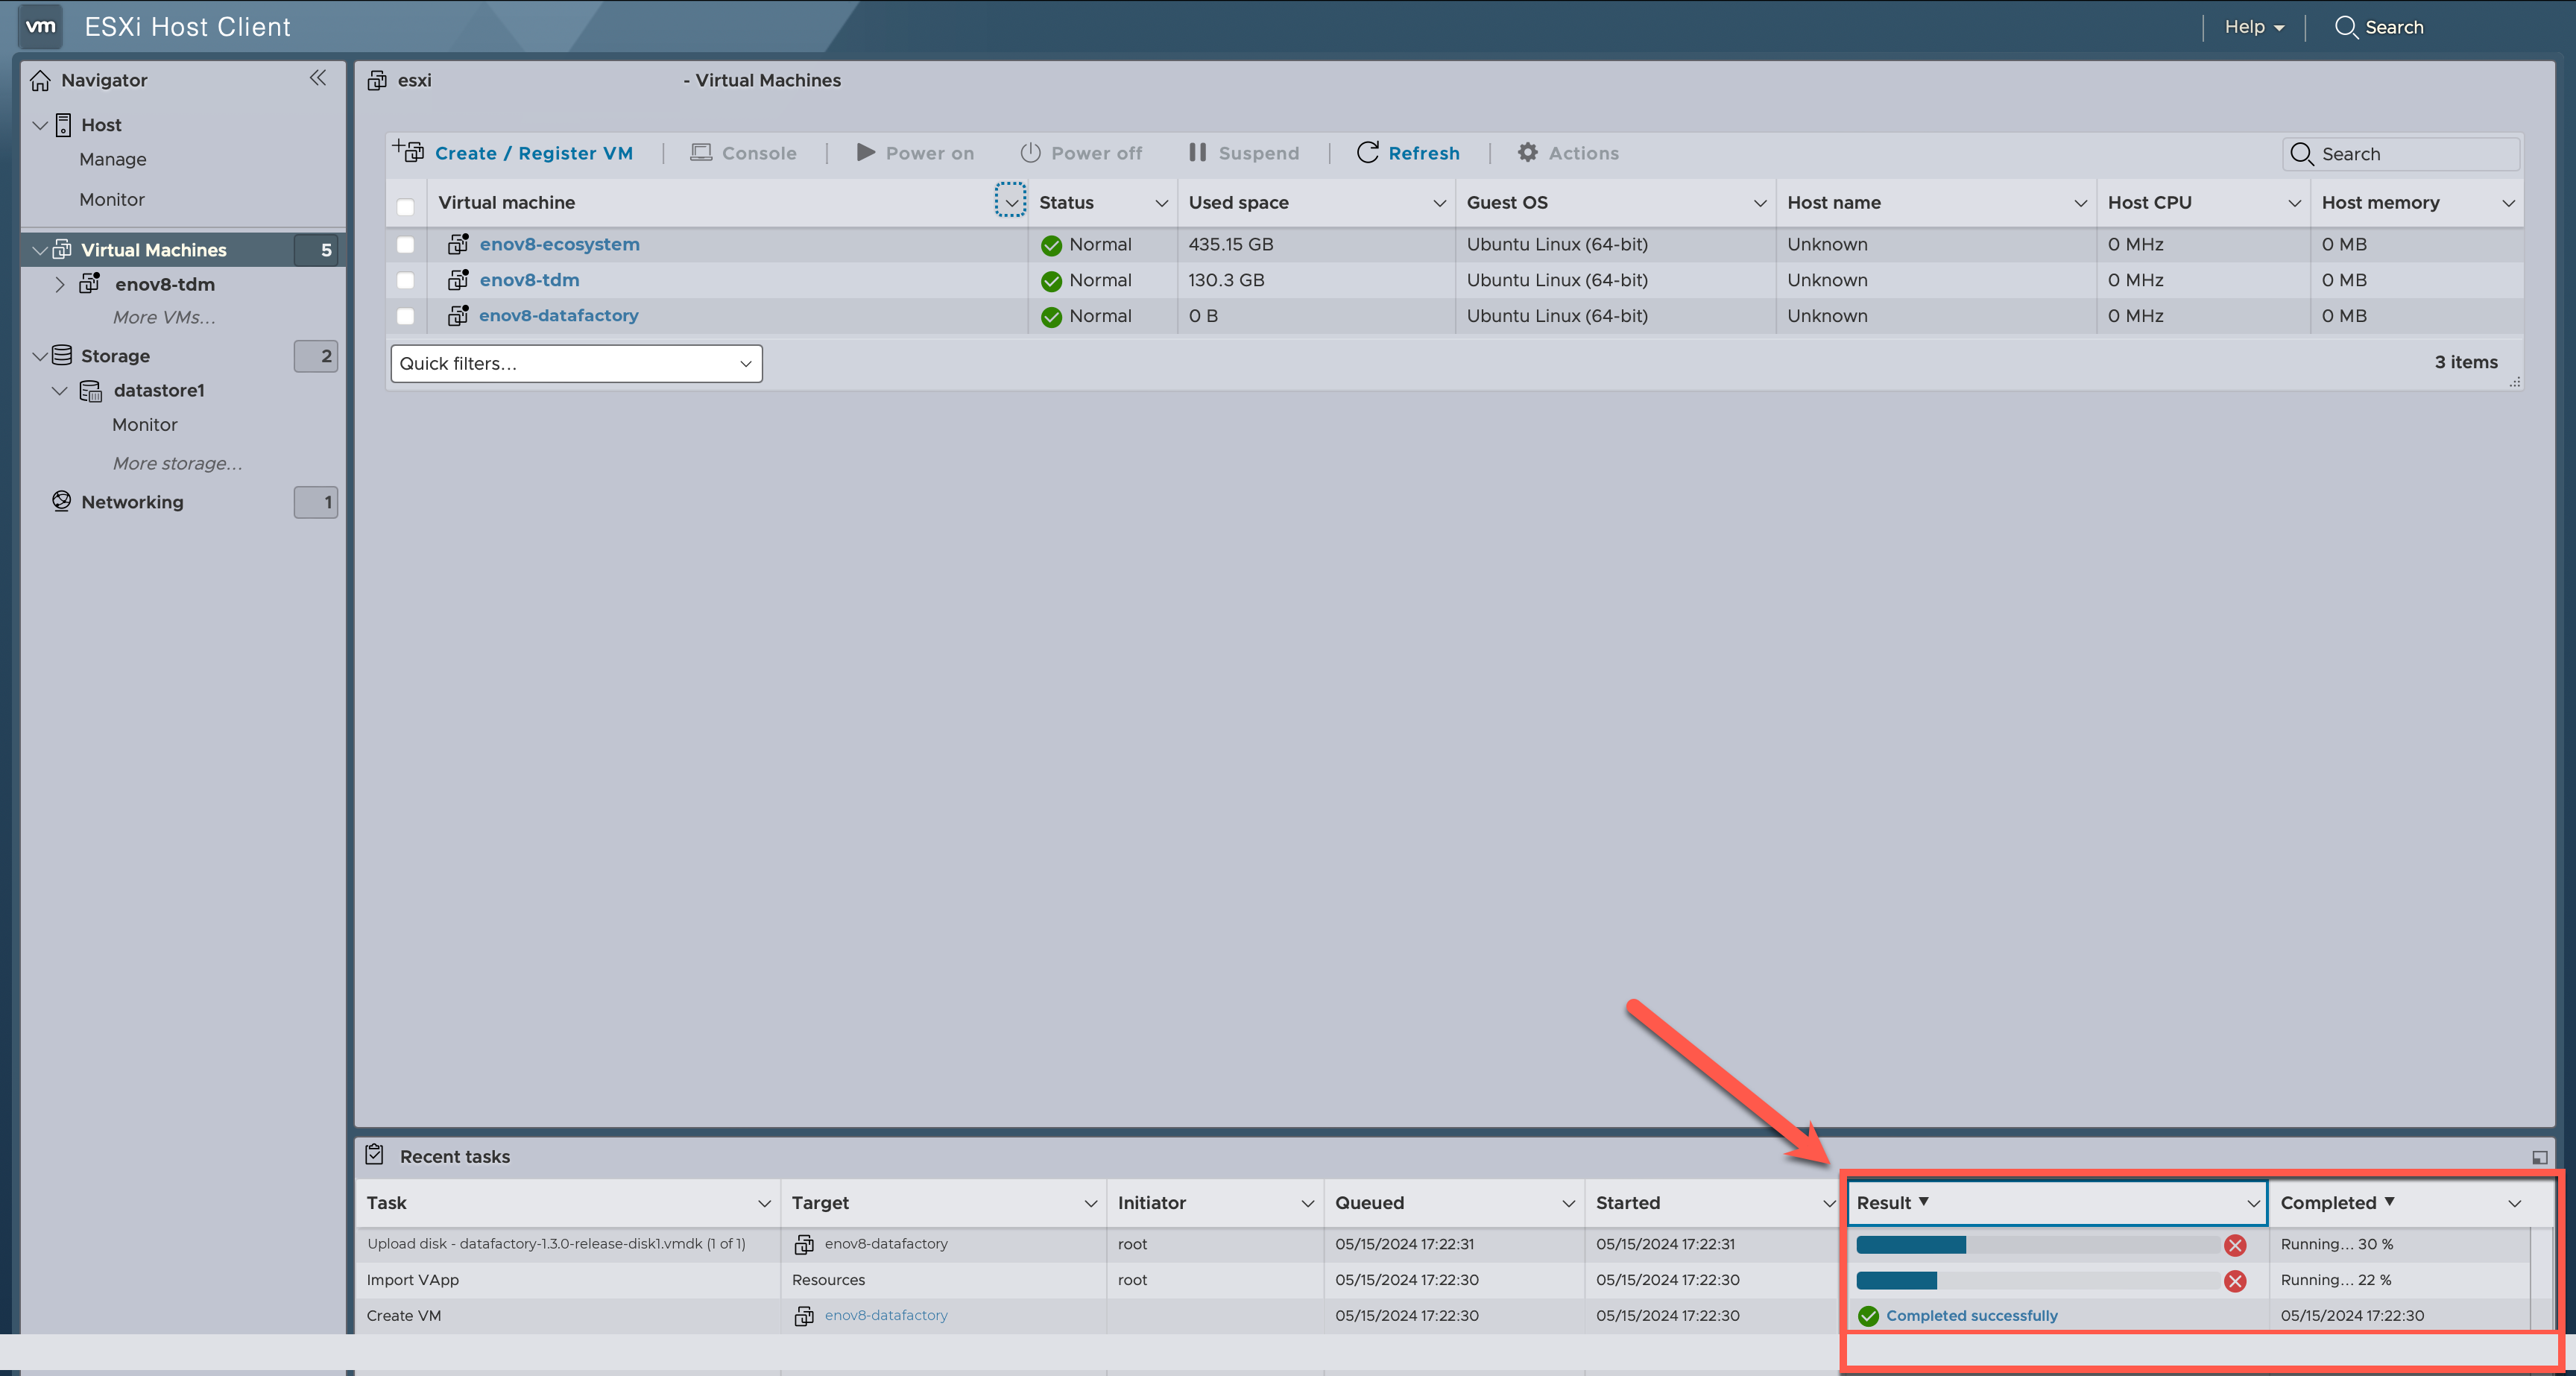
When the deployment is complete, every task shows Completed successfully.
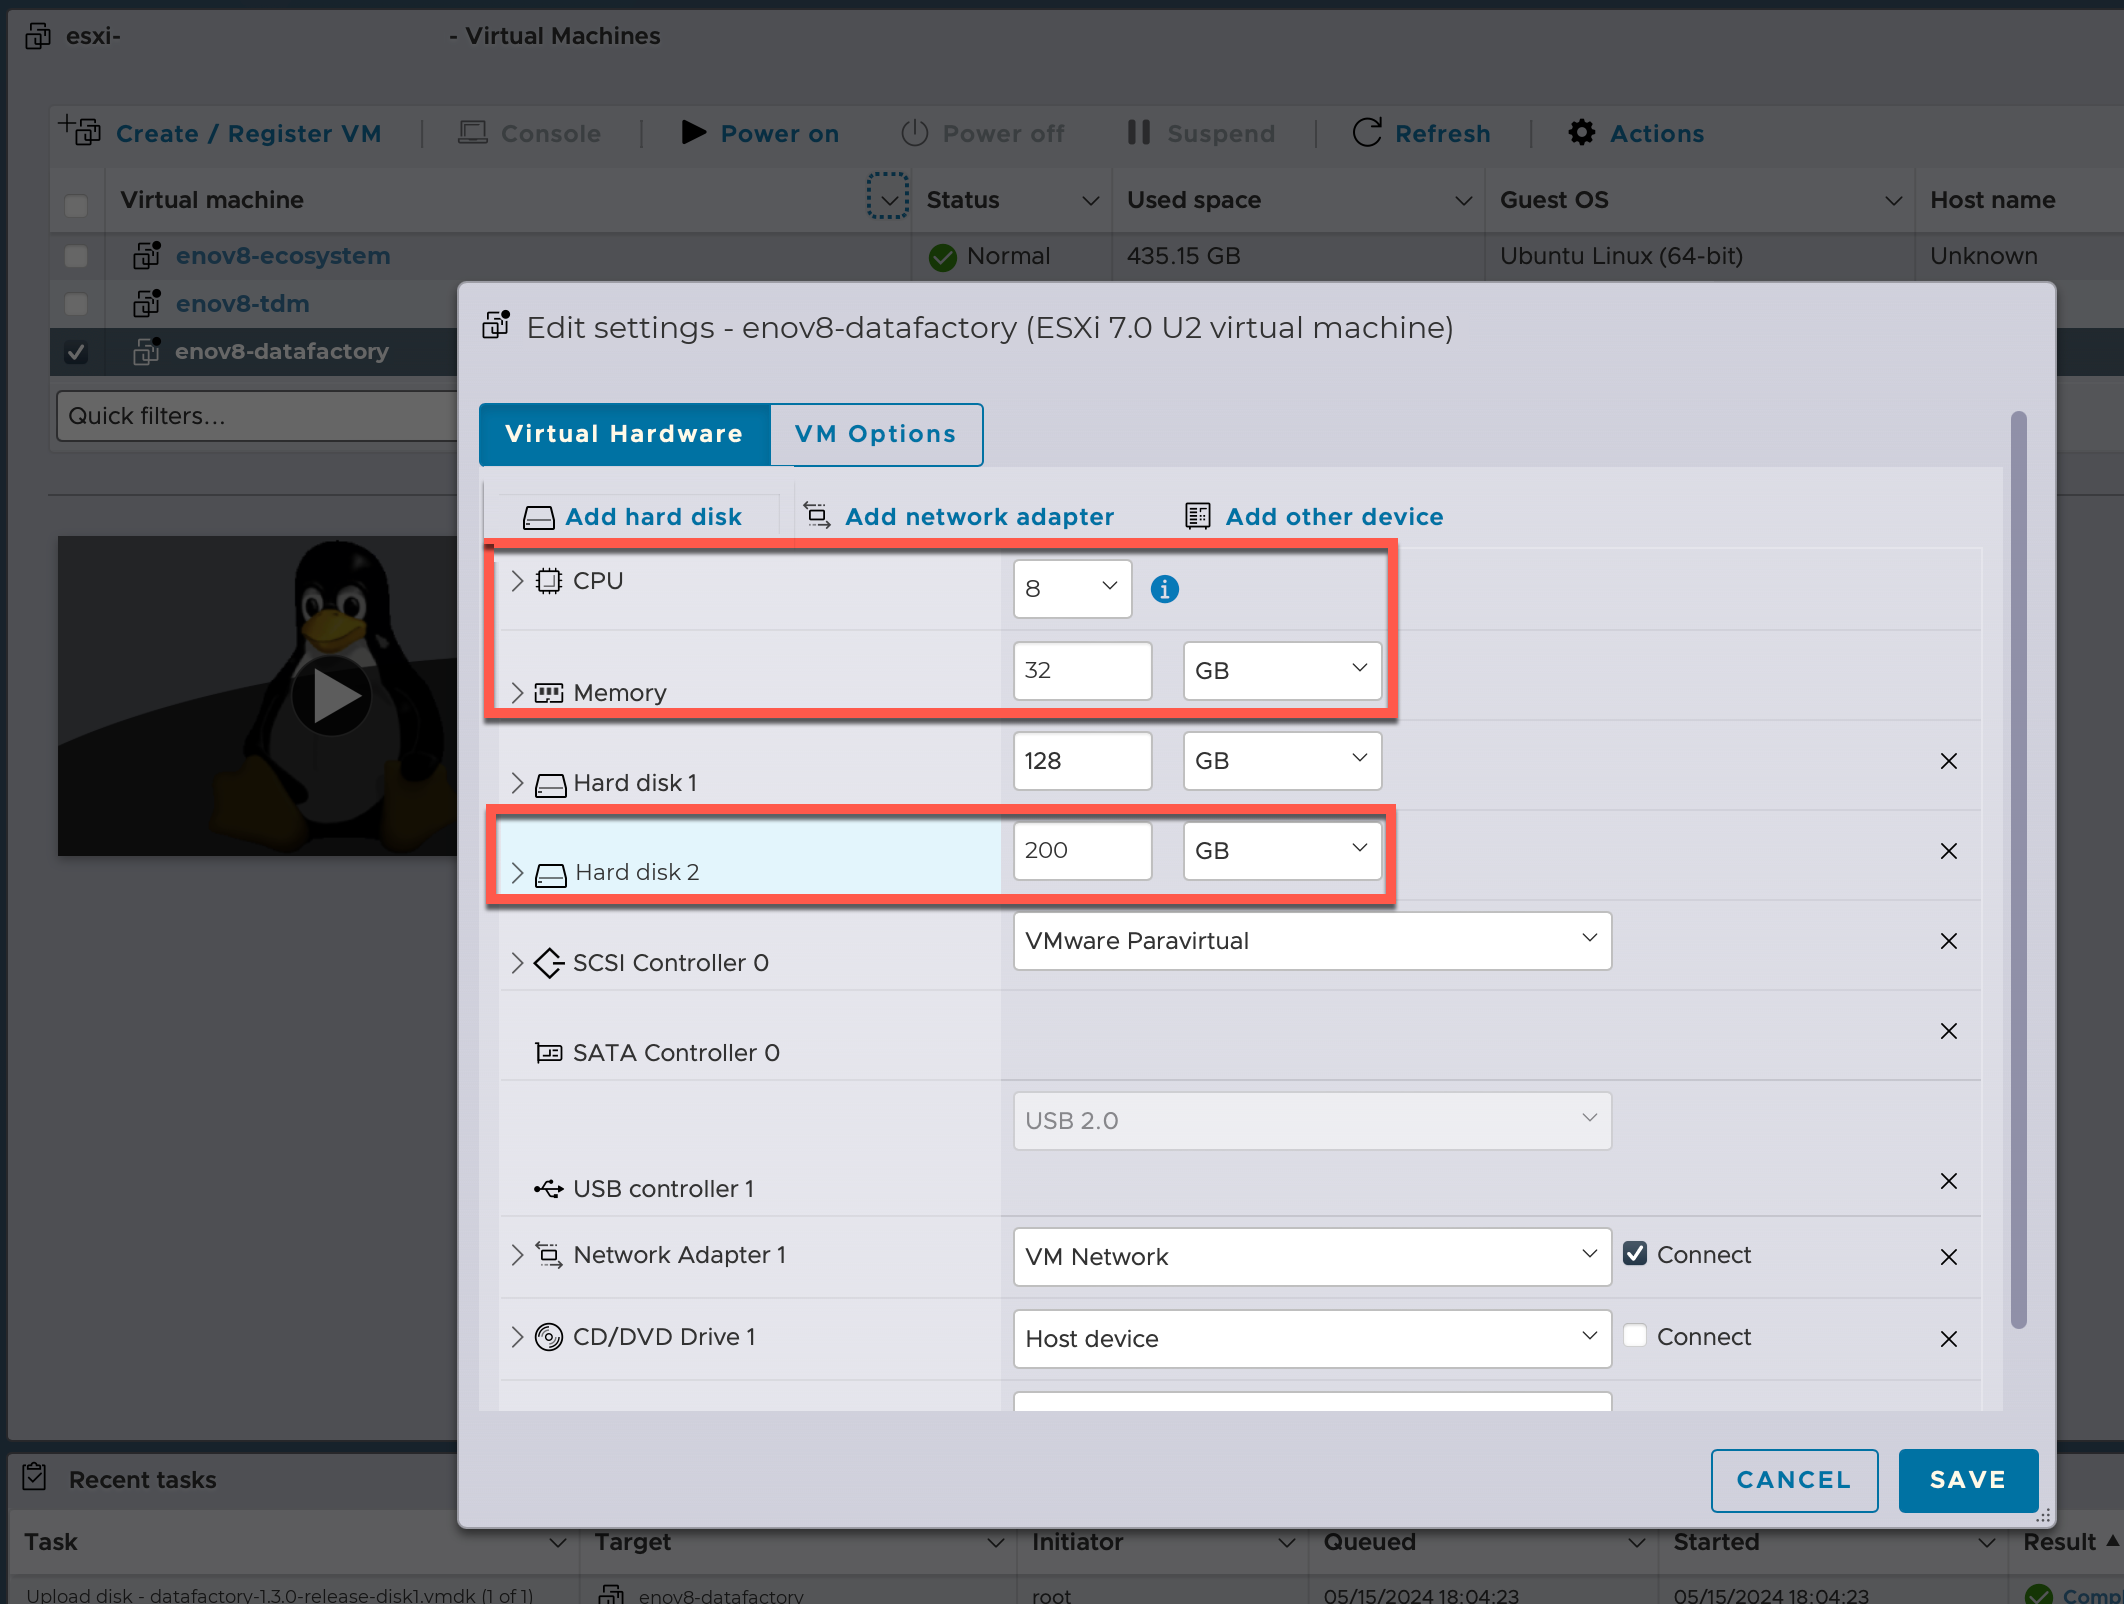
7. Edit settings (optional)
You only need this step to change the size, or to grow the data disk. Do it before the first power on.
- Right-click the new virtual machine and click Edit settings.
- The VM shows CPU 8, Memory 32 GB, Hard disk 1 128 GB (the OS disk) and Hard disk 2 200 GB (the data disk, on its own VMware Paravirtual controller).
- On a smaller host, lower CPU and Memory, no lower than 4 CPUs and 16 GB. If you lower the memory, lower its reservation to match.
- To make the data disk larger, raise the size of Hard disk 2.
- Click Save.
Keep Hard disk 2 attached and leave it blank. The first boot formats it at the size it has then, so grow it only before the first power on.
8. Power on and find the IP address
- Click the virtual machine name to open its details.
- Click Power on.
- The first boot sets up DataFactory and takes a few minutes. The appliance runs open-vm-tools, so its IP address appears in the VM's General Information > Networking section. If it doesn't, click Refresh.
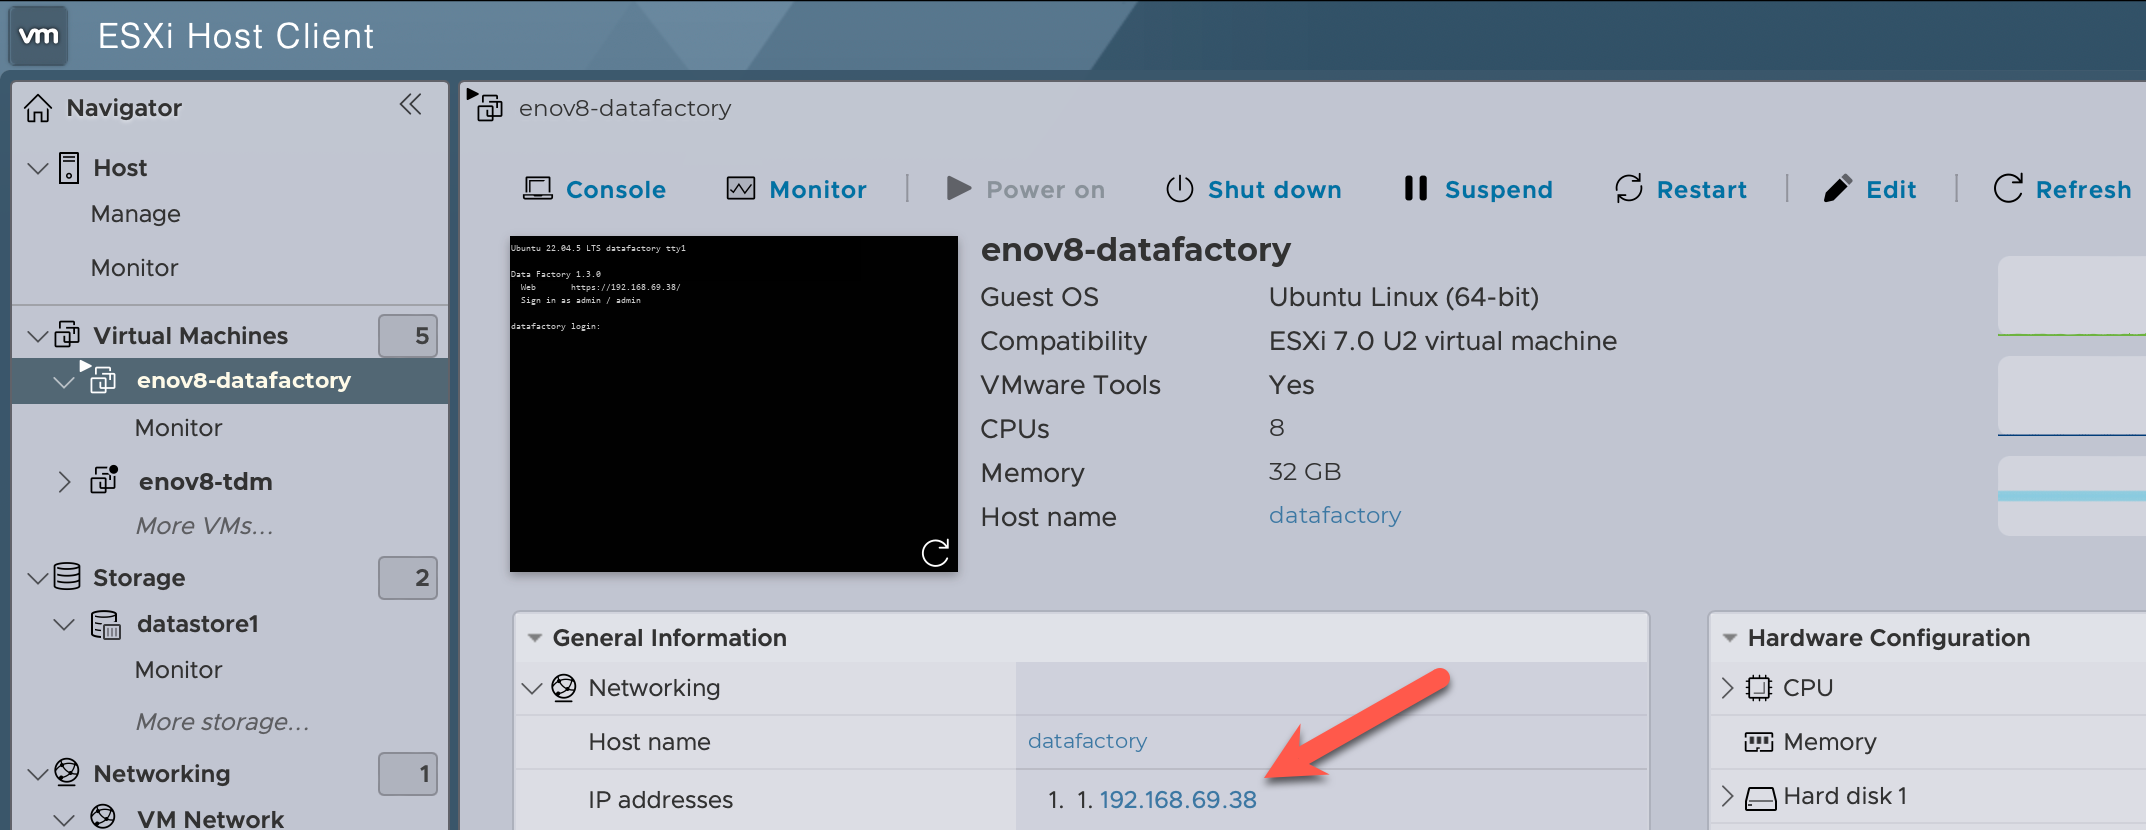
- Open the VM console. While the first boot runs, it says Setting up for the first time. When it's done, the console shows the web address and the sign-in.
Deploy with vCenter
The OVA creates the same two disks as on ESXi: the OS disk and the blank data disk (Hard disk 2). Keep the data disk attached. In the vSphere Client:
- Right-click a host or cluster and choose Deploy OVF Template...
- Select Local file and choose
datafactory-1.3.0-release.ova. - Name the VM and choose its folder, compute resource and datastore.
- Select storage: choose Thin Provision or Thick Provision for the disks.
- Select networks: map VM Network to the network your users and databases are on.
- Click Finish. Edit the settings now if you need to (see step 7), then power on the VM.
Next step: first boot and sign-in
Browse to the web address the console shows, sign in as admin / admin, choose a new password and install your licence.
→ Continue to First boot and sign-in for the full step-by-step walkthrough.
Troubleshooting
| Symptom | What to do |
|---|---|
| No IP address after the first boot | The network adapter isn't on the right network, or no DHCP server answered. Check the network mapping, or set a static address from the console menu. |
| The VM doesn't power on: not enough memory | The OVA reserves all 32 GB. Free memory on the host, or lower the memory and its reservation (step 7). |
| The console says No data disk | The VM had no blank second disk at first boot. See First boot and sign-in. |
Related documentation
- Hyper-V install guide: import the virtual machine into Hyper-V
- First boot and sign-in: sign in, install the licence and use the console menu
- Install options: every way to host DataFactory